")
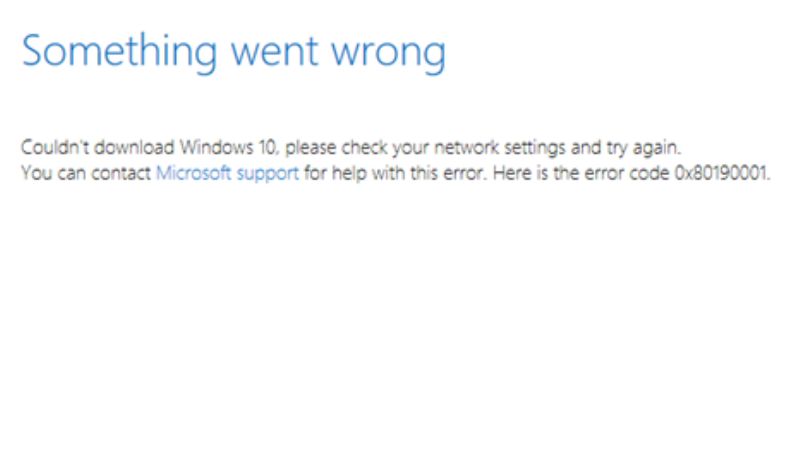
Sometimes when any user tries to download the latest Windows Update, they encounter an error message with a stop code 0x80190001. This error happens because of wrong time and date settings, system file corruption, etc. It can also make your computer very slow and unresponsive and due to that, you will have problems operating your computer. Therefore, in order to resolve this problem, in this guide, I am going to tell you how to fix the Windows Update error code 0x80190001 on your Windows PC in detail below.
Fix: Windows Update Error 0x80190001 (2023)
If you are getting Windows Update error 0x80190001, you can easily fix it by running the in-built Windows Update Troubleshooter or else by setting your Time and Date to the automatic time zone for wrong timings. Below you can read about both methods that will help you to resolve the error code you are getting on your Windows 10/11 PC.
How to Run Windows Update Troubleshooter
- First of all, click on the Start menu.
- Then click on Settings to open it.
- After that click on Update & Security option.
- From the left pane, click on Troubleshoot.
- On the right-hand side, click on the Additional troubleshooters link.
- In the new window that opens, click on Windows Update > Run the troubleshooter.
- That’s it, just restart your PC to solve the error code 0x80190001.
How to Change Date & Time to Automatic
- First, click on the Start menu, then click on Settings to open it.
- Then click on Time & Language.
- From the left pane, click on Date & Time.
- On the right side, toggle the switch to ON for the option “Set time automatically”.
- Finally, restart your PC and check whether the error is fixed now.
That’s all there is to know about how to fix Windows Update error code 0x80190001 on Windows 11/10. In the meantime, do not forget to check out our other guides only on TechNClub.com: How to fix Windows Update Error Code 0x800703f1, and How to fix Windows Update Error 0xc190011f.