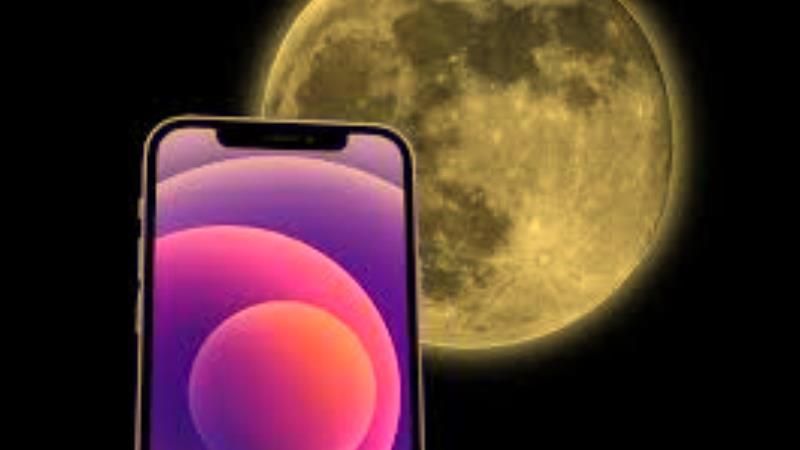
Taking a good photo of the Moon is certainly not easy without special tools, given that you risk capturing a simple bright dot with any Android or Apple smartphone. However, the quality of photos that can be taken with an iPhone has grown exponentially in recent years. The Moon is now one of the most photographed subjects ever. But what are the best techniques required to take a crystal clear photo of the Moon? Well, in this guide, we will tell you how to take a picture of the moon with iPhone 14 Pro in detail below.
iPhone 14 Pro: How to Take a Picture of the Moon (2023)
Firstly, it is important to choose the right moment to take moon photos with your iPhone 14 Pro camera. The moon is only visible during the night, so it is advisable to choose a clear and cloudless evening to obtain a black and contrasty background. Also, it’s important to consider the phase of the moon, because if you want to get a sharp photo of the full moon, it’s best to shoot during the first or last phase of the moon, when the moon is brightest and most visible.
Secondly, it is important to pay attention to the focus of the photo. Since the moon is at a great distance from the Earth, you need to use a manual focus mode to get a sharp photo. To do this, just touch the screen of your iPhone 14 Pro to select the focus point, then move the green circle that appears on the moon to get perfect focus.
Finally, it is important to consider the exposure of the photo. The moon is very bright, so it is advisable to use a manual exposure mode to avoid overexposing the photo. To do this, simply touch the screen of your iPhone 14 Pro to select the exposure point, then move the yellow circle that appears on the moon downwards to obtain the correct exposure.
The bottom line is taking pictures of the moon with a smartphone can be a fun and rewarding experience. Just pay attention to the details and use the right settings to get quality photos.
Proper Settings to Take Night Moon Photos with iPhone 14 Pro
- On your iPhone 14 Pro, launch the Camera app.
- Then go to the Photo mode.
- Search for a moon icon which will be located on the upper left side.
- If the moon icon is grayed out, then Night Mode can be activated, but not automatically turned on as the view will be too bright.
- In case the moon icon is displayed in yellow color, it is auto-enabled for your view and now you can take the shot.
- After that, press an arrow that will be facing upward.
- Then tap the yellow moon icon which will be located below to configure the exposure time.
- Finally, hold your iPhone still or use a telescope for your iPhone by purchasing it when your smartphone is in Night Mode. Just tap the shutter button when a yellow moon icon shows up with a countdown.
That is all you need to know about how to take a picture of the moon with an iPhone 14 Pro. While you are here, you might be also interested to know How to fix iPhone 14 Pro Bricked Issue Using the Recovery Mode, and How to Soft Reset iPhone 14 Pro.