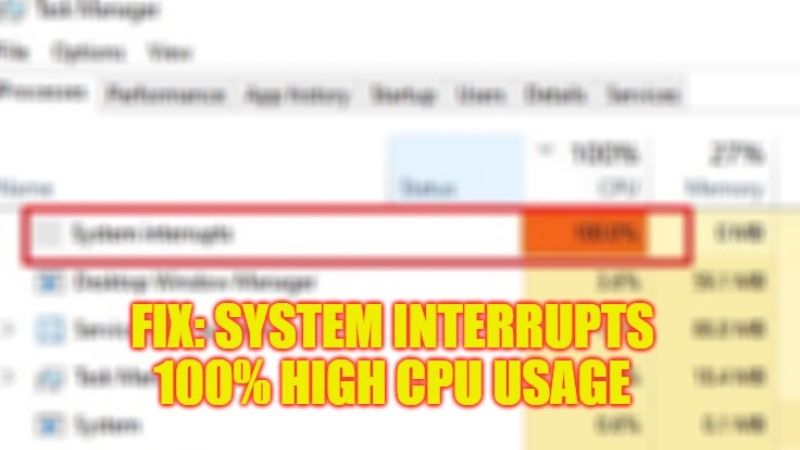
There are many Windows 10/11 users who are having problems with System interrupts that is showing too much CPU usage on their PC. What happens is that after opening the Task Manager on their computer, there is a process called System Interrupts with 100% high CPU usage. This problem usually occurs when there are any hardware or software conflicts in the Windows operating system. So, in this guide, we will tell you how to fix System Interrupts 100% CPU Usage in detail below.
Fix: System Interrupts 100% CPU Usage (2023)
You can easily fix the System Interrupts 100% high CPU usage on your Windows 10 or Windows 11 PC by either ending the same process in Task Manager or else checking and rectifying some failing hardwares such as Hard Drive. Below you will find out all the methods to get rid of this high processor usage problem in simple steps.
End System Interrupts Process in Task Manager
- First of all, right-click on the Taskbar and select Task Manager to open it.
- In the Task Manager window that pops up, click on the Processes tab on the top.
- Now, in the CPU column, search for System Interrupts processes and right-click on it.
- Finally, select the End Task option to quit the System Interrupts process once and for all.
How to Check Failing Hardware such as Hard Drive
If there are some errors with your Hard Drive, it is possible that the main root of the System Interrupts high CPU usage is with the same hardware. So, follow the steps below to check for problems with your Hard Drive:
- First, right-click on the Start menu and then click on File Explorer to open it.
- Then expand “This PC” and right-click on the hard drive (C: or D: drive for example).
- Then select Properties.
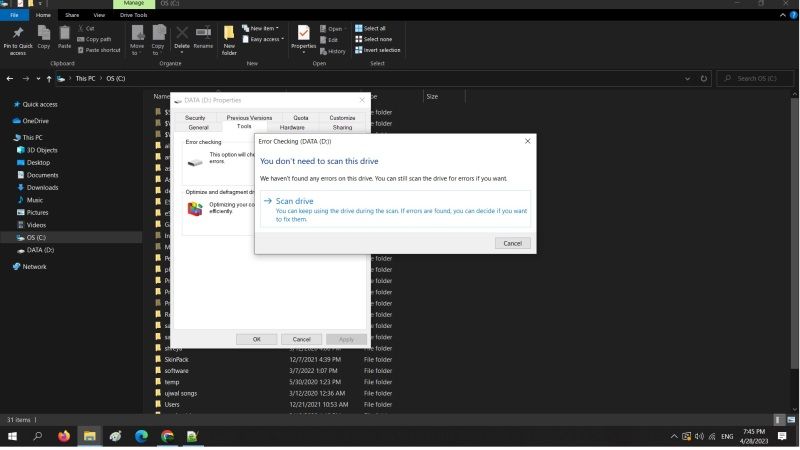
- In the new window that pops up, select the Tools tab on the top.
- Under the Error checking section, press the Check button.
- Finally, click the Scan drive option and Windows will try to correct any errors related to the Hard Drive and fix the problem automatically.
That’s all there is to know about how to fix System Interrupts 100% CPU Usage error. While you are here, you might be also interested to know similar types of guides here: How to fix Microsoft Windows Search Indexer High CPU Usage, and How to fix .NET Runtime Optimization Service High CPU Usage on Windows.