
Our generation is filled with many young enthusiasts who are willing to change this world with their revolutionary ideas but they do not have the means to do so. Are you one of them too? Then why don’t you run a Simple Web Server for yourself? You can easily do that with your iPhone. Maybe you do not know how does it work, right? Let us show you how to run and stop a Simple Web Server on iPhone.
Requirements to Run a Simple Web Server on iPhone
Running a web server on an iPhone is pretty easy just like running a Web Server on a Windows 11 PC. You just need to take care of a few things before running a web server on your Apple iPhone, which is mentioned below:
- An iPhone with iOS 11 or later.
- iSH Shell App.
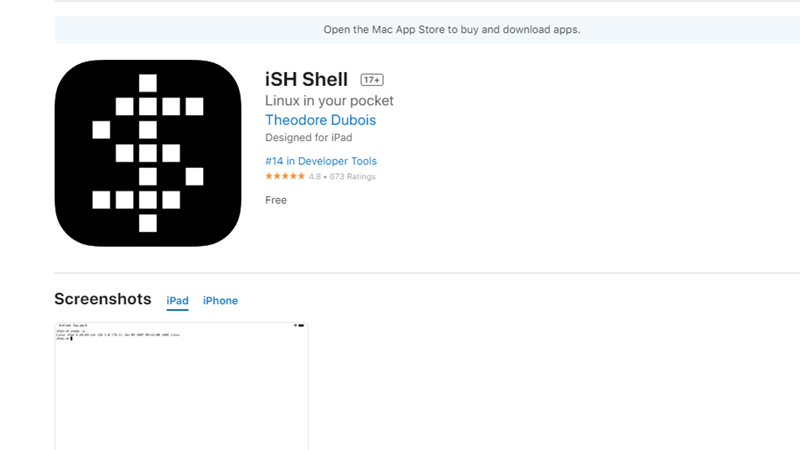
Just download the iSH Shell App from the App Store with the help of the link provided. Let’s get started now.
How to Run a Simple Web Server on iPhone (2023)
Follow the steps given below to run a simple web server on your iPhone:
- Open the iSH App on your iPhone.
- Type this command in the iSH app – ‘apk add python3’.
This will install Python 3 on your iPhone.
- After Python 3 gets installed, type this command ‘python3 -m http.server’ without quotes.
- Then, you will see a pop-up message on your iPhone saying “iSH would like to find and connect to devices on your local network. This is required for connecting to localhost and using the ping command”. Tap ‘Ok’ to continue.
- Now, if you need to connect the web server to your iPhone that you are using to create the web server, type ‘http://127.0.0.1:8000/’ without quotes in the iSH Shell App.
But to connect the web server to another device, you need to type ‘http://device-ip-address:8000/’ without quotes on your iPhone.
(Enter your iPhone’s IP address instead of ‘device-ip-address’)
To find your iPhone’s IP address, go to Settings > WiFi > Your WiFi’s Name.
Follow these steps and you will be able to run a simple web server on your iPhone.
How to Add HTML Files to Web Server on iPhone
The next important thing after running a web server is to add HTML files to it. Here are the steps to add HTML files to a web server on iPhone:
- Open the Files App on your iPhone.
- Tap the three dots icon at the top-right corner of the Files App.
- Select ‘Edit’.
- Tap on the toggle bar for the iSH app to enable it.
- Tap ‘Done’.
- Send the HTML file from your computer to your iPhone. Move that file to the following location – ‘iSH > root’.
That’s it! You have successfully added your HTML file to the web server that you created using your iPhone. Now, don’t you think it is important to learn how to stop the web server on iPhone?
How to Stop Web Server on iPhone
Stopping a web server created on an iPhone is extremely easy. Follow these steps for the same:
- Open the iSH Shell App.
- On your iPhone’s keyboard, tap on the ‘Up Arrow’
- Next, tap ‘Z’
The web server on your iPhone will be stopped once you complete this process.
That is all you need to know about how to run and stop a simple web server on an iPhone. Also, the steps to add an HTML file to the web server are important. We hope that this guide would be helpful for you, just like our other guides: How to Fix iPhone “Cannot Verify Server Identity” Error, and How to Setup a VPN on iPhone.