If you are looking to use a VPN (Virtual Private Network) on your iPhone, know that it can be very useful in many circumstances, for example, if your company uses a private Internet network that you need to access while traveling, or if you want your iPhone to think whether you are still in the same country or in a different one even when you travel abroad. In this guide, I will explain how to setup a VPN on iPhone.
Steps to Setup a VPN on iPhone

A VPN can create a secure connection by rerouting the internet connection to that location, even if you are in another location. VPN is also often used when accessing public Wifi, as it will redirect you to a different endpoint in order to increase security. Basically, using a VPN to funnel all your data over a secure network will protect you when using an unsecured Wifi setup like the public one.
To use a VPN on iPhone, you must first register for one of the iOS compatible services and download the relevant app on your iPhone. These include ExpressVPN, PureVPN, CyberGhostVPN, NordVPN, etc. The apps are free, but the related services cost some dollars per month based on the packages that you have selected.
Setting Up a VPN service on iPhone
The best method to set up a VPN client on iPhone is through one of the services listed above. Just install the app, register an account, start the free trial period and complete the setup.
Once you have logged into one of these services, iOS will ask you permission to add the VPN configuration to your iPhone. Just click on Allow to complete the authentication by entering the system password to automatically configure the VPN on your iPhone.
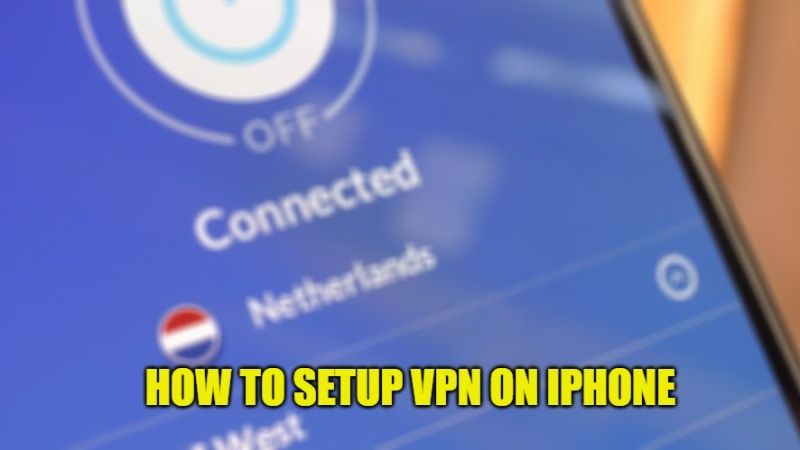
After the VPN is enabled on your iPhone, you can choose and connect it at any time without having to open the app again, which in the future will only be used to change the locations and adjust other settings.
How to enable a VPN that is already configured via the app:
- On your iPhone, tap on Settings.
- Select General.
- Click on VPN.
- Select the VPN client you previously enabled and want to use.
- Turn on the switch next to the VPN service you want to turn on.
- When you’re done using the VPN, follow the instructions above to turn it off. Don’t forget to turn it off when not needed.
How to Manually Set Up a VPN on iPhone
If you have all your login information at your fingertips, you can manually set up a VPN client on iPhone, here are the steps:
- On your iPhone, click on Settings.
- Select General.
- Tap on VPN.
- Click on Add VPN Configuration.
- Click on Type and choose between IKEv2, IPSec, or L2TP.
- Go back and enter all the other information: description, Server, and Remote ID.
- Enter the authentication credentials (Username or Certificate).
- If you use a proxy, you can enable it by clicking on Manual or Automatic at the bottom.
- Click Finish.
Now all you have to do is go back to the VPN screen and enable the setup you just completed. Again, don’t forget to turn it off when not needed.
That is everything you need to know about how to setup a VPN on iPhone. In the meantime, do not forget to check out our other guides – Best Chargers for iPhone 12, and How to Print Pictures from iPhone.