Microsoft Defender antivirus is a native program present in the various version of Windows 10 that is permanently enabled to protect the operating system from viruses and malware. Even if the program has improved a lot in the various version, it still remains a very heavy application and not very effective in detecting viruses. So if you have already installed another third-party antivirus software on your Windows 10 machine like McAfee, Norton, etc; you can safely disable it to increase the performance of your PC. In this guide, I am going to explain how to permanently disable Microsoft Defender antivirus in Windows 10.
Steps to Permanently Disable Microsoft Defender Antivirus in Windows 10
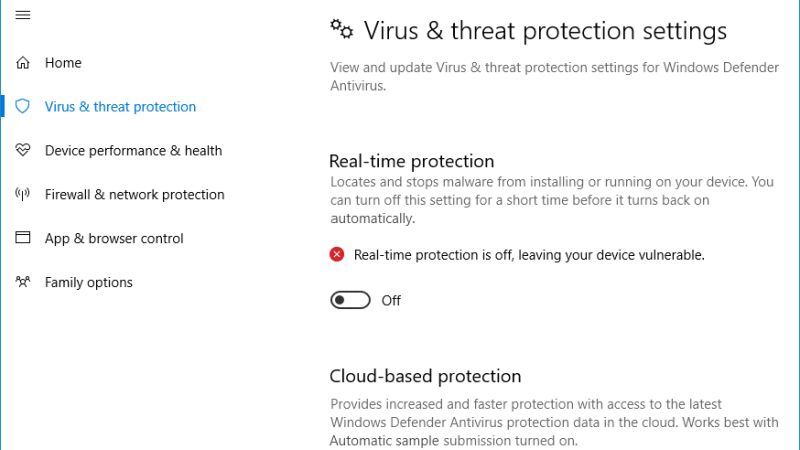
In Windows 10, you can easily disable Microsoft Defender antivirus from the classic interface or by using a specific policy. However, because of the strange issue, the program has the tendency to re-enable itself despite having previously been disabled in the settings of Windows 10.
So, in this guide, let us see how to use Windows Registry to permanently turn off Microsoft Defender antivirus on Windows 10. (Please note that I would only recommend doing this only if you have another antivirus and malware protection software installed on your PC).
- First of all, log in to your system with an Administrator account.
- After that copy and paste the text below into the Notepad application and then save the file on the desktop with the .reg extension (for example NoDefender.reg)
Windows Registry Editor Version 5.00
[HKEY_LOCAL_MACHINE\SOFTWARE\Policies\Microsoft\Windows Defender]
“DisableAntispyware”=dword:00000001 - Now, double click on the NoDefender.reg file you just created on the desktop and confirm the insertion of the data in the Registry.
- Afterwards, restart your system and you will now have permanently disabled Microsoft Defender on your Windows 10 PC.
- If you want to restore normal operation of Microsoft Defender, then repeat the same methods described above but in the .reg file to be imported into the registry, just set the variable to 0, for example check the below texts:
Windows Registry Editor Version 5.00
[HKEY_LOCAL_MACHINE\SOFTWARE\Policies\Microsoft\Windows Defender]
“DisableAntispyware”=dword:00000000
As mentioned before, you should disable Microsoft Defender only if you already have another antivirus application installed on your PC, otherwise leaving it enabled, it is still a useful security tool on a computer without antivirus.
That is everything you need to know about how to permanently disable Microsoft Defender antivirus on Windows 10. In the meantime, do not forget to check out our other guides on How to Check Your Full PC Specifications on Windows 10, and 8 Fastest Ways to Fix 100% Disk Usage on Windows 10.