
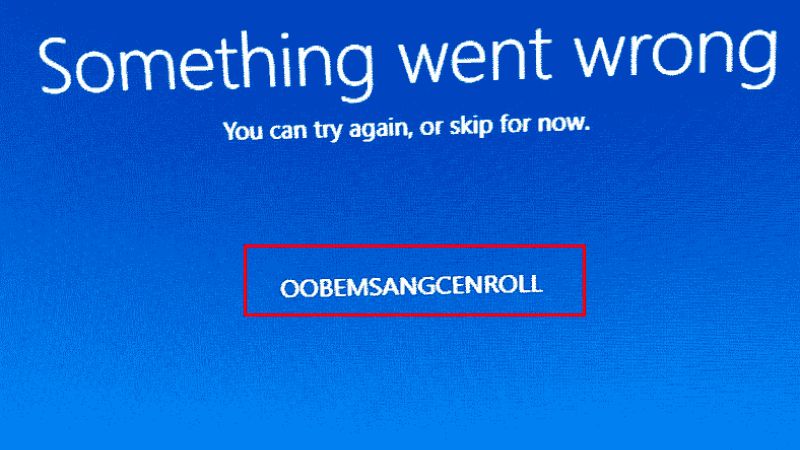
After formatting Windows 10 or Windows 11 and doing a clean install of the same operating system, many users were getting a strange error called OOBEMSANGCENROLL when setting up their pin. The error you can see on the screen shows a message that states “Something went wrong, you can try again, or skip for now”. This error mostly occurs if you try to set up the Out-of-box experience after installing the latest Windows operating system. Therefore, in order to solve this problem, in this guide we will tell you how to fix OOBEMSANGCENROLL error message on Windows 10 or Windows 11 PC.
Fix: OOBEMSANGCENROLL Error on Windows 10/11 (2023)
You can easily fix the OOBEMSANGCENROLL error message on your Windows 10/11 computer. To carry out this solution you need a bootable external Windows 10 media (a DVD or a USB drive containing the Windows 10 installation program). If you don’t have it, follow these steps:
- Download the media creation tool from this page (click Download tool now).
- Save the MediaCreationTool.exe file in Downloads or on the Desktop.
- Run the tool and accept the License Terms that the window presents to you
- Next, choose the option “Create installation media for another PC” and click Next.
- Then select Language, Edition, and Architecture and click Next.
- On the next screen choose “USB flash drive” or “ISO file”, whichever you prefer, and click Next. If you download an ISO file (windows.iso) you will need to burn it to a DVD.
After getting your Windows 10 DVD (or USB flash drive) ready, follow these steps:
- Insert the media into the drive, or USB port, and restart the computer (the computer must be configured in the BIOS to boot from external media first, before the hard drive).
- When the message “Touch any key to boot from CD or DVD…” appears, press any key on the keyboard. The computer will start the installation media.
- After getting a message on a white background asking if you want to do an update or a clean install, press the Shift+F10 keys (the Shift key is the one just above the CTRL key). A command console will open.
- When the command prompt console opens, type this command and press Enter:
bcdedit - You will see these options: Windows Boot Manager (underlined), and Windows Boot Loader (also underlined). If you only have a Windows 10 operating system installed, only that loader will appear. Look what letter this drive has. Normally it is usually the “C:”. If that is the system letter, type the following command and press Enter:
c: - Then type the following path and press Enter:
cd Windows\ServiceProfiles\LocalService\AppData\Local\Microsoft\Ngc - Next, type this command and hit Enter:
dir - You will see that the Ngc directory appears with the folders it contains. We are interested only in alphanumeric folders (with numbers and letters in square brackets). There may be one or more of these folders.
- Suppose one of the folders is this: {00550D59-ACAA-4863-95AB-1A74A9167BEA}, then type the following command and press Enter:
rd {00550D59-ACAA-4863-95AB-1A74A9167BEA} /s - The system will ask you for confirmation: Are you sure (Y/N)? Press the Y and Enter keys to confirm. Do the same procedure with the rest of the folders if they exist.
- Once the folders are removed, type exit at the command prompt and press Enter to exit the prompt.
- Now reboot the system normally. Log in to your user account using a password and proceed to create a new PIN.
That is everything you need to know about how to fix the OOBEMSANGCENROLL error message on your Windows 10/11 computer. While you are here, you might be also interested to know How to Bypass Windows 10 Password Login Screen, and How to fix the “Windows Resource Protection Could Not Start the Repair Service” Error.