
Google Chrome is a browser that stores the data you search for future reference. It also uses DNS for tracking down the IP address you are requesting after getting confirmation from the internet provider. It stores the DNS cache like other operating systems and browsers too. In this article, you’ll learn how to clear or flush the DNS cache in Google Chrome on Windows 10.
How to Flush Your DNS Cache on Windows 10 Google Chrome
DNS, a domain name system is a directory that keeps IP addresses of the sites like google.com and youtube.com, all the sites that you visit are stored by your browser in the form of a DNS Cache. Google Chrome now auto clears these caches with a change in the host’s data. Check out the steps mentioned below on how to do that:
- Open your PC and search for Google Chrome from your Windows Search bar. Now open your Chrome.
- Click on the plus sign on the top of your screen or press Ctrl + N to open a new tab.
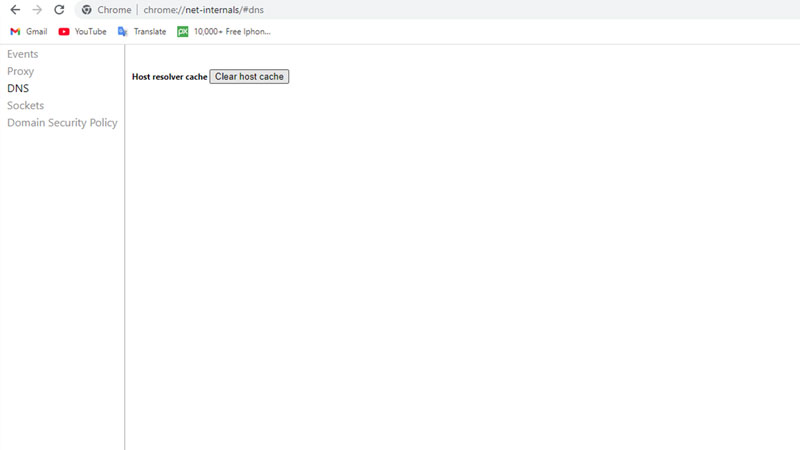
- Now type “chrome://net-internals/#dns” on your Chrome’s URL section, which is on the top of your screen.
- Press Enter key, and you’ll get redirected to your DNS page, where you’ll see the host server cache with the button clear host cache.
- Click on the clear host cache to clear or flush the DNS cache in Google Chrome.
You might need to clear the socket pools too so that your browser can refresh the DNS cache. For doing that, type “chrome://net-internals/#sockets” on your Chrome URL bar or simply go on the sockets option below the DNS option and choose flush socket pools.
How to Clear or Flush DNS Cache in Windows 10
- Search for CMD in your Windows Search bar and open the Command Prompt.
- Now type “ipconfig /flushdns” beside the last line of the command and hit Enter key.
- It will show you the message “Successfully flushed the DNS Resolver Cache”.
This is the simplest solution that you can use to flush or clear the DNS cache in your Google Chrome browser on Windows 10 operating system. If this article helped you check out our other guides on How to Open On-Screen Keyboard on Mac and Windows and How to Turn Off Sticky Keys on Mac & Windows PC.