
If you have recently updated Skype on your Windows 11 device, you might have encountered an error where the video won’t turn on while you are on a call. This issue often occurs on Skype after major updates as a few settings get reset while making changes in the app. However, there are some workarounds to fix the video call not working error on the Skype app of your Windows 11 desktop, and this guide will help you with it.
Fix: Skype Video Call is not working after the update on Windows 11 (2023)
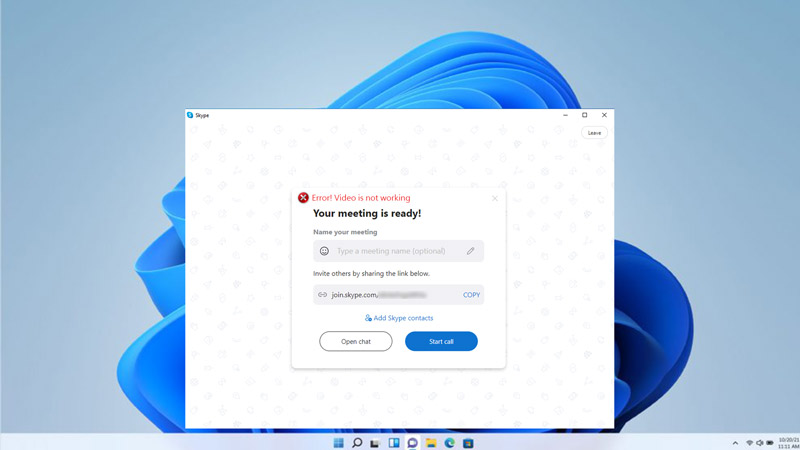
If the video call is not working on your Skype app after updating it on your Windows 11 desktop, you can fix it by following these workarounds:
1. Check your Webcam settings and Permissions
Since, after every update, all the Skype settings are set to default, there might be instances where permissions for Skype app might be disabled. Hence, the first thing you should do is check your webcam settings and permissions, and you can do this by following these steps:
- Firstly, open the Settings app on your Windows 11 desktop and click the ‘Privacy’ tab.
- Click the ‘Camera’ tab from the left panel and turn on the switch below the ‘Allow apps to access your camera’ section.
- Then turn on the ‘Skype’ switch from the list below the ‘Choose which Microsoft Store apps can access your camera’ section.
- Also, turn on the ‘Allow desktop apps to access your camera’ toggle.
2. Update the Webcam driver
Sometimes the webcam driver might have compatibility issues that might cause video calls not working issues on your Skype app. You can fix this by updating your webcam driver by following these steps:
- Firstly, right-click the Start button and select Device Manager from the menu.
- Expand the Cameras or Imaging device category and right-click on your webcam device.
- Select the ‘Update driver’ option from the menu, and a prompt window will open.
- Click the ‘Search automatically for drivers’ option and wait for Windows to find and install the latest driver for your webcam.
- Restart your device and check if the video calling works for the Skype app.
3. Uninstall and reinstall Skype
If none of the above methods work, you can try uninstalling and reinstalling the Skype app, and you can do it by following these steps: To do this, follow these steps:
- Open the Settings app on your Windows 11 desktop and click the ‘Apps’ tab.
- On the Apps settings window, click the ‘Apps & features’ tab from the left panel of the screen.
- Now find Skype in the list of installed apps, click the three dots icon next to it, and select the ‘Uninstall’ option.
- Follow the prompts to complete the uninstallation process.
- Now reinstall the Skype app from the Microsoft Store.
- Finally, launch Skype and sign in with your account. Check if the video calling works now.
That’s everything covered on how to fix the Skype video call not working after the update on Windows 11 desktop. Also, check out our other guides, such as How to fix Windows 11 22H2 failed to install error or How to fix the ‘error accessing the registry’ issue on Windows 11.