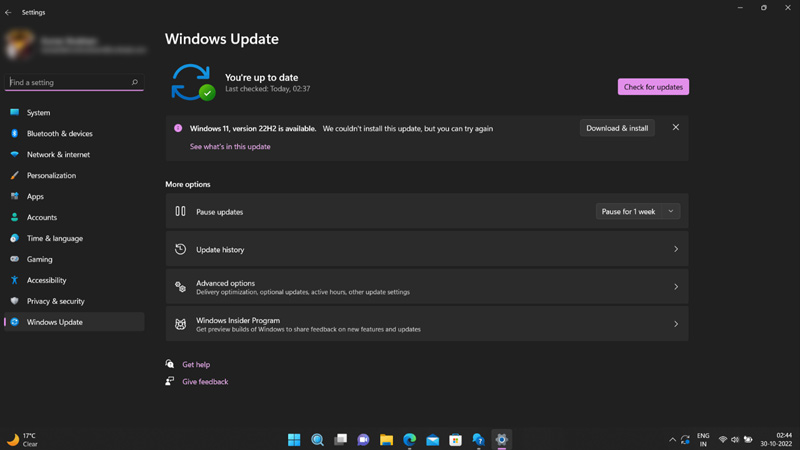
Windows 11 is the latest operating system from Microsoft, and it comes with many new features and improvements. However, some users may encounter problems when trying to update to the latest 22H2 version. This update is supposed to fix some bugs and enhance the performance and security of Windows 11, but it may fail to install due to various reasons. Hence, to fix this issue and help you install the latest Windows 11 22H2 on your PC, this guide will help you.
Fix: Windows 11 22H2 failed to install Error (2023)

You can fix the Windows 11 22H2 failed to install error by following these workarounds:
1. Run the Windows Update Troubleshooter
The Windows Update Troubleshooter is a built-in tool that can help you diagnose and fix common problems with Windows Update, and you can perform the same by following these steps:
- Open the Settings app by pressing the ‘Windows’ + ‘I’ keys on your keyboard and click the ‘System’ tab from the left panel of the screen. If you are using Windows 10 22H2 or the below version, click the ‘Update & Security’ tab.
- Then click the ‘Troubleshoot’ tab from the left side of the screen.
- Now click the ‘Additional troubleshooters’ hyperlink.
- On the ‘Additional troubleshooters’ page, click the ‘Windows Update’ tab.
- Finally, click the ‘Run the troubleshooter’ button.
- The troubleshooter will scan your system and try to fix any issues that may prevent the update from installing. If it finds any problems, it will ask you to apply the recommended fixes or provide you with some suggestions. Follow the prompt instructions to fix failed to install error.
2. Restart the Windows Update Service
Sometimes, the Windows Update Service may get stuck or corrupted, causing failure in installing the update. In such cases, you might need to restart it, and you can do it by following these steps:
- Firstly, press the ‘Windows’ + ‘R’ keys on your keyboard to open the Run dialog box and type ‘services.msc’ without quotes.
- Then click the ‘OK’ button or press the ‘Enter’ key on your keyboard to open the Windows Services.
- In the Services window, find and right-click on Windows Update and select Restart.
- Wait for a few seconds, then try to install the 22H2 update again.
3. Delete the SoftwareDistribution Folder
The SoftwareDistribution folder is where Windows stores the downloaded update files. Sometimes, these files may get corrupted or incomplete, causing the update to fail. Hence, to delete this folder, follow these steps:
- Firstly, open the Run dialog box and type ‘%windir%\SoftwareDistribution’ without quotes.
- Now click the ‘OK’ button to open the SoftwareDistribution folder.
- In the SoftwareDistribution folder, select all the files and folders and press the ‘Delete’ key on your keyboard.
- If prompted, you might need to provide administrator permission.
- Now restart your computer and try to install the Windows 11 22H2 update again.
4. Other Methods
- Make sure you are connected to a stable internet connection.
- Check if your device has enough space to install Windows 11 22H2 update.
- Update all the third-party drivers on your device.
- Disconnect all the external drivers and try installing Windows 11 22H2 again.
That’s everything covered on how to fix Windows 11 22H2 failed to install error. Also, check out our other guides, such as How to fix “the installer failed to properly install this driver” error or How to fix the Windows Update error 0x80070006.
