For privacy purposes, users prefer to use VPN while surfing the internet. If you have used VPN on your Windows 7 or 8 desktop, you might be aware of the ‘Error code 868: The remote connection was not made because the name of the remote access server did not resolve’ message. However, the error code is removed in Windows 10 & 11, but the message is still relevant. Altered VPN settings and restrictions by third-party antivirus software are a few reasons this error message is shown, and this guide will help you to fix it.
Fix: ‘The Remote Connection was not made’ VPN Error (2023)
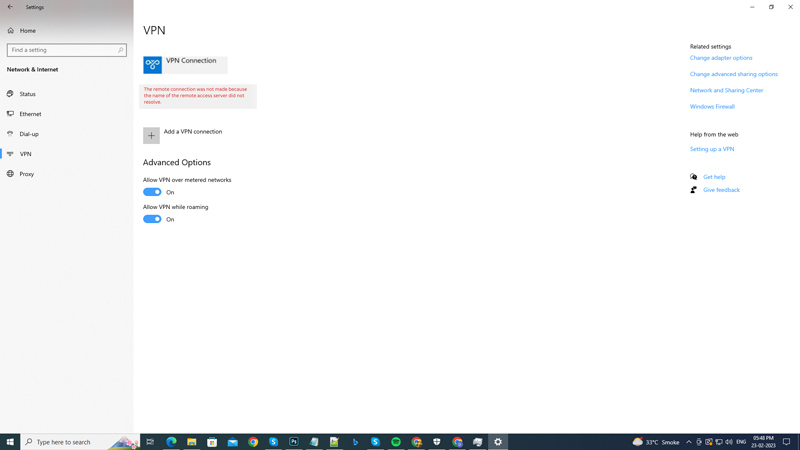
Due to changes made in VPN settings or due to third-party antivirus software restrictions, you might see a ‘the remote connection was not made’ error message on your Windows desktop, and here are some workarounds to fix it:
1. Flush DNS cache and reset Winsock
- Firstly, press the ‘Windows’ + ‘R’ keys on your keyboard and type ‘CMD’ without quotes on the run dialog box.
- Then press the ‘Ctrl’ + ‘Shift’ + ‘Enter’ keys on your keyboard to open the Command Prompt with administrative privileges.
- Now on the Command Prompt window, type the following commands and press the ‘Enter’ key after every command to flush DNS and reset Winsock:
ipconfig /flushdns
ipconfig /registerdns
ipconfig /release
ipconfig /renew
Netsh winsock reset
- Finally, restart your PC and see if ‘The Remote Connection was not made’ error is fixed.
2. Disable Third-Party Antivirus
Some antivirus restricts activities related to the network connections, this can cause issues. Hence, disabling them can solve this issue, and you can do it by following these steps:
- Press the ‘Windows’ + ‘X’ keys on your keyboard to open the power menu and select the ‘Task Manager’ option.
- Click the ‘Startup’ tab on the Task Manager window.
- Select the installed antivirus software from the list and select the ‘Disable’ option.
- This should disable all the restrictions on VPN.
3. Change the DNS server to fix ‘The Remote Connection was not made’ Error
If there are system connection issues, it can cause ‘The Remote Connection was not made’ error. You can easily fix it by changing the DNS server on your Windows desktop. You can do it by following these steps:
- Firstly, press the ‘Windows’ + ‘I’ keys to open the Settings app, and select the ‘Network & Internet’ tab.
- Then go to the ‘Status’ tab, then click the ‘Properties’ button.
- Now select the ‘Edit’ option under the ‘IP Settings’ section. The ‘Edit IP Settings’ window will pop up.
- Select the ‘Manual’ option from the ‘Edit IP Settings’ drop-down.
- Then turn on the ‘IPv4’ toggle.
- Now type your desktop’s IP address under the ‘IP address’ text box.
- Type ’24’ under the ‘Subnet prefix length’ text box.
- Now, on the ‘Gateway’ text box, type your router’s IP address.
- Finally, type the following DNS servers:
- On the ‘Preferred DNS server’ box, type – 8.8.4.4
- On the ‘Alternate DNS server’ box, type – 8.8.8.8
- Now click the ‘OK’ button to save changes.
- The DNS server will be changed.
That’s everything covered to fix ‘the remote connection was not made’ error. Also, check out our other guides, such as How to flush DNS cache in Google Chrome on Windows 10 or How to enable DNS over HTTPS (DoH) on Windows 11.