")
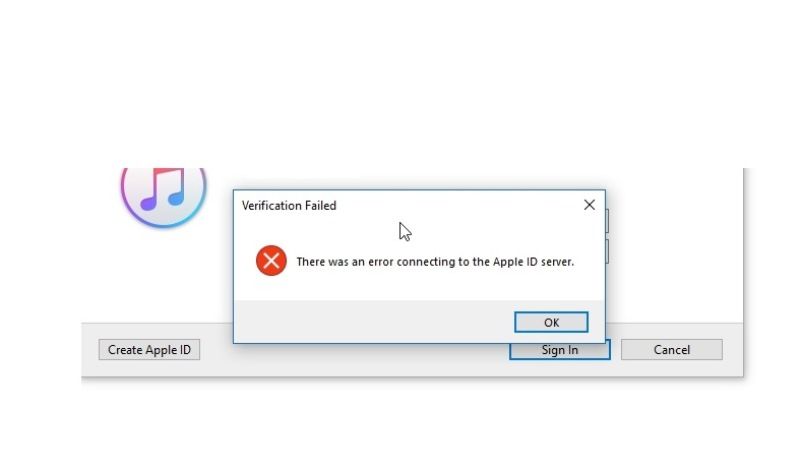
If you are getting an error message when trying to log into iTunes or iCloud that says “There was an error connecting to the Apple ID server”, do not worry, as we have got you covered. This type of error mainly occurs if there are problems with the Apple servers that may be down or else the network settings could be not set up properly. In any case, in this guide, you will learn how to fix “There was an error connecting to the Apple ID server” on your Windows 10 PC in detail below.
Fix: “There was an error connecting to the Apple ID server” on Windows 10 (2023)
You can easily fix “There was an error connecting to the Apple ID server” on your Windows 10 computer by whitelisting iTunes in Firewall or by turning off the Proxy settings. Below you will find out both methods listed to resolve the error message you are getting on your PC.
How to Whitelist iTunes in Firewall
- In the Search bar, type “Allow an app through Windows Firewall” without quotes and press Enter to open it.
- On the top, click on “Change Settings“.
- If iTunes is not listed in the box, then follow the steps below.
- At the bottom, click on “Allow another app“.
- A new window will pop up, here click on Browse.
- Go to this directory – C:\Program Files\iTunes
- Choose the iTunes.exe file and then click Open.
- After that click on Add.
- Lastly, ensure to tick the checkboxes for both Private and Public for iTunes, and then click OK.
- That’s it, now whenever you will open iTunes, you will not get the error message anymore.
How to Turn Off Proxy
- First of all, click on the Start menu.
- Then click on the Settings app to open it.
- In the new window, click on Network & Internet to open it.
- In the left pane, click on Proxy.
- On the right side, turn off all the toggle buttons to disable the proxy on your PC.
- That’s it, now check whether the Apple ID server error is fixed or not.
That is everything you need to know about how to fix this Apple ID server error on Windows 10. While you are here, you might be also interested to know How to Remove or Unlink Apple Watch from Apple ID (Account), and How to Factory Reset iPad Without Apple ID.