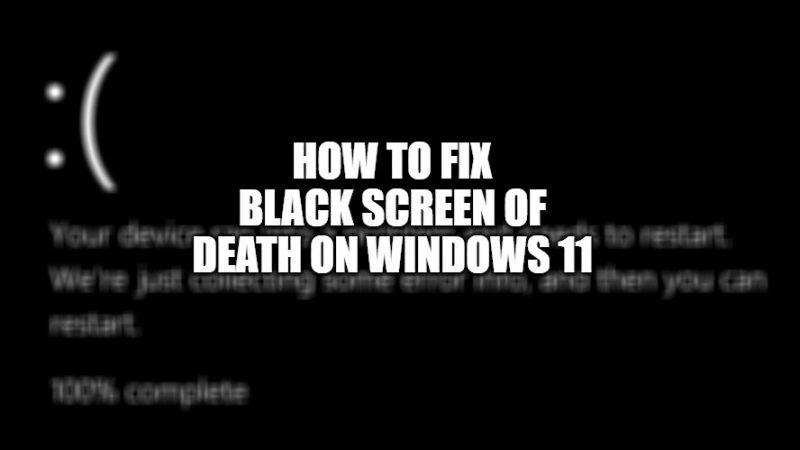
Microsoft has recently made a lot of changes to its new operating system Windows 11. There is one that made almost no sense, and it was none other than the Blue Screen of Death (BSOD) to Black. In its recent Windows 11 update, fortunately, Microsoft is bringing it back to blue, so whenever your computer crashes, you will at least feel at home. In this guide, I will explain how you can fix the black screen of death error on Windows 11.
How to Fix Windows 11 Black Screen of Death – Resolve BSOD Error
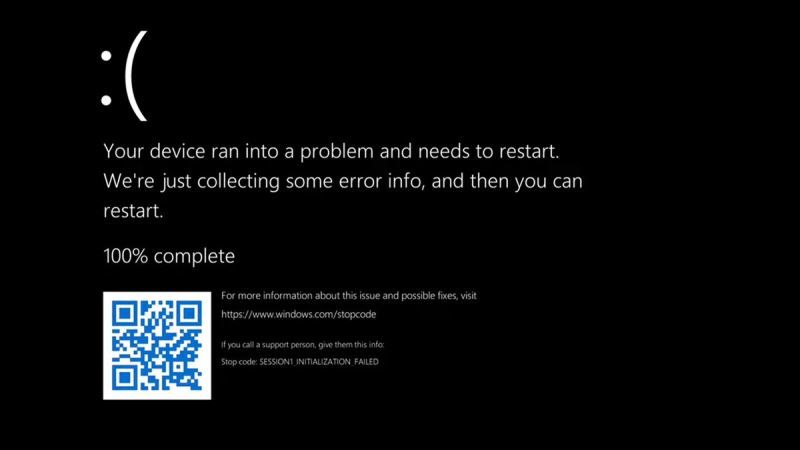
The Blue Screen of Death (BSOD) issues have been a nightmare for Windows users. These errors were first seen in Windows 3.0 and users continued to see them until Windows 11, which means that these blue screen errors have been around for more than a decade.
Now, it seems that the Redmond giant is changing its popular Blue Screen of Death (BSOD) error to Black Screen of Death in Windows 11. If you are looking to fix this Black Screen of Death error on your PC, follow the steps given below to resolve this issue.
How to Start Windows 11 in Safe Mode
It will be best to start your Windows 11 PC in Safe Mode to be on the safer side and get rid of any problems that could occur while troubleshooting the Black Screen of Death error. Here are the steps:
- Restart your computer and when it boots to the Windows logo, restart it again.
- You will have to repeat the above steps a couple of times until you come across the Automatic Repair option.
- Once you are on the Automatic Repair option, click on Advanced Options and then go to Troubleshoot > Advanced options > Startup Settings.
- After that click on Restart. Once your PC is restarting, immediately press the F4 key to enable Safe Mode.
- Once you have entered the Safe Mode, follow the steps given below to fix the Black Screen of Death error.
Method 1: How to run Windows Memory Diagnostic Tool in Windows 11
- In the Search box, simply type Windows Memory Diagnostic and open it.
- After that click the option of Restart now and check for problems (recommended).
- Your Windows 11 PC will restart and Windows Memory Diagnostic tool test will begin.
- Once the test is finished, reboot your Windows 11 computer and check whether the issue is resolved.
Method 2: Run SFC Scan on Windows 11 to fix BSOD Error
- In the Search box, type CMD and open the Command Prompt tool as an Administrator.
- A window will pop up, just type the text mentioned below and press Enter key:
- sfc /scannow
- The process will take some time to complete.
- Once the process is finished, finally check if the Black Screen of Death is gone.
Method 3: Try to Perform a System Restore in Windows 11
- In the Search box, type Create a restore point and open it.
- Now, under System Protection, you have to click on System Restore.
- After that, click Next > Next and then choose to Restore point.
- Now click on the Scan for affected programs.
- Your PC will scan for programs and apps that are affected because of this process.
- Once the process is completed, then finally click on Next > Finish to complete the process.
And that is all you need to know about how to fix Black Screen of Death on Windows 11. If you are interested in more Windows 11 Tips and Tricks, check out our other guides on how to force Windows 11 to open Search Links in your Default Browser, or how to open Windows Terminal as an administrator in Windows 11.