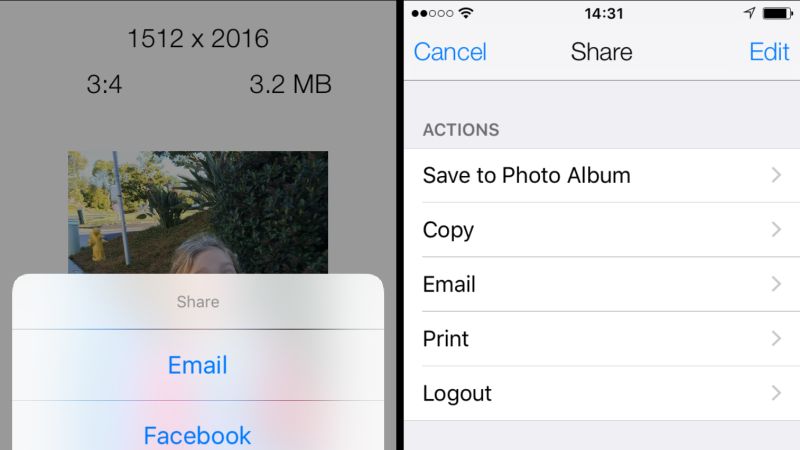
If you usually take a lot of photos with your iPhone, surely it is possible that some of them are so beautiful or meaningful that you want to print and frame them. Once you have selected the right photo, the first question to ask is what will be the right format for using it in a frame. Once you have chosen the format, for example square one, you can resize the photo directly from the iOS Photos application. In this guide, let us see together how to resize an image on your iPhone.
Steps to Resize an Image on iPhone

The camera of the iPhone is very powerful and offers great resolution, numerous photo formats, and also editing tools built into the phone. So, if you want to resize a photo on your iPhone, you can use the inbuilt Photos app on your smartphone to do a lot of things, for example, crop the photo, change color saturation, and more.
Here are the steps to resize a photo on your iPhone:
- First of all, you need to open the Photos app on your iPhone.
- After that select any photo that you want to resize on your iOS device.
- Now, tap on Edit.
- Tap on the clipping symbol or Crop button which will be located at the bottom right side.
- At this point go to select the Aspect Ratio.
- A pop-up menu will open from which you can select a preset format, here you can select Square if you would like.
- When the grid of the selected aspect ratio appears, you can move it if you like to best fit the crop of the photo.
- At this point select Crop and once you like the result, just tap the Save button.
- That’s it, now you will have a photo of the proportions you want, ready to be printed and without having to download them to the PC as well. Also note that the original photo will be overwritten, so if you want to keep the original picture remember to make a copy beforehand.
That is everything you need to know about how to resize an image on iPhone. While you are here, do not forget to check out our other guides on How to Setup a VPN on iPhone, and How to Block Websites in Safari on iPhone and iPad.
