Apple now offers to annotate on its photos, from its iPhone, iPad, or iPod Touch. Handling is very easy, probably more with the iPad if you have an Apple Pencil, which is more precise than the finger. The excellent Markup capability in iOS allows iPhone and iPad users to draw on any photo or image stored on their iPhone device. So, in this guide, I will show you how to draw on a photo on iPhone 13.
How to Draw Directly on a Photo on iPhone 13
As you might be aware, you can easily draw on a photo on your iPhone with the help of the Markup feature. It offers a nice way to highlight something in an image, and even if it can be used for fun, it’s just as useful for business users to annotate images.
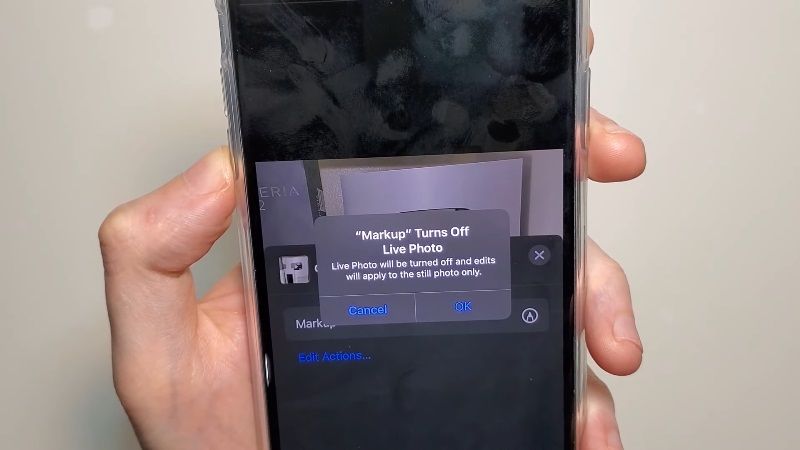
Markup is a very good feature, but it is hidden behind some button option of some sort in iOS’s photo editing features, so many users ignore the Markup capability without even knowing it exists. Follow the instructions below to draw on a photo in iPhone 13, if you do not get the option then most probably you will have to update iOS to a newer version.
- On your iPhone or iPad, open the Photos app and choose the image you want to draw on.
- Tap the photo again to show the Toolbars, then tap the Edit toolbar button (it looks like three sliders now).
- Now press the “(•••)” button or three dots to display more editing options.
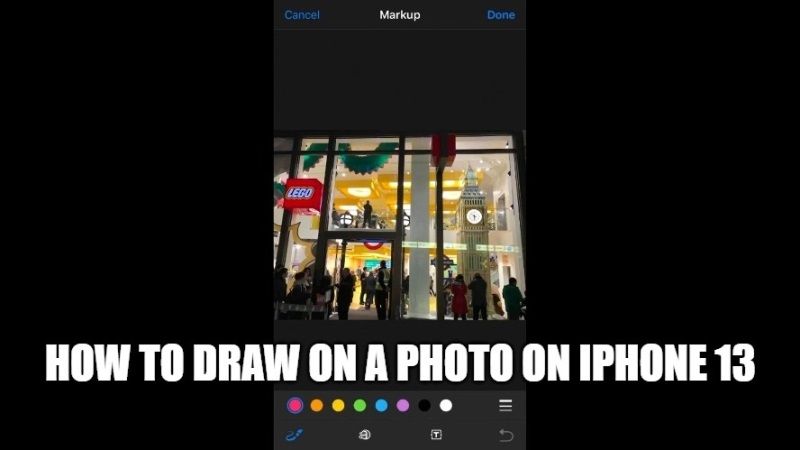
- Choose “Markup” from additional editing options
- Use the markup tools to draw, write, highlight and doodle on the photo using the available options:
- Drawing (the pen icon) – draw with your finger using any of the colors shown on the screen, you can also adjust the thickness of the lines.
- Highlight (magnifying glass over a letter icon) – emphasize or enlarge a part of the image
- Write the text (the text T icon) – place text on the image and type using the standard iOS keyboard
- Colors – choose the color to use
- Undo (the inverted arrow icon) – undo the previous markup
- When you are done, press the “Done” button to complete the tagging and drawing on the photo.
- Press “Done” again to finish editing the image and save the changes to the image.
And that is all you need to know about how to draw on a photo on iPhone 13. For more information on the latest Apple smartphone, check out our other guides on how to hard reset iPhone 13, and how to backup iPhone 13.