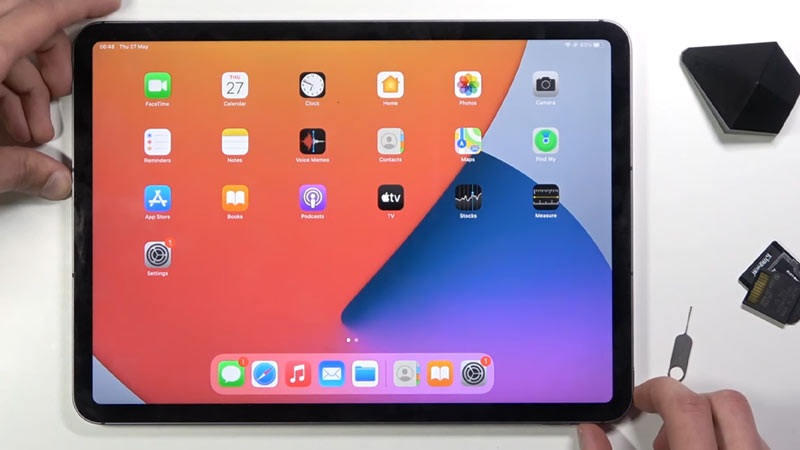
iPads allow the user to view online documents in their entirety or sections. Whatever the case is, you will want to save these documents so that you can view them later. As such, you can Print Screen it or Capture a Screenshot to save these documents as an image. In this guide, I will show you how to take a Print Screen or a Capture Screenshot on your iPad.
How to take a Print Screen or a Capture Screenshot on your iPad?

The most simple way of taking a Print Screen or to Capture a Screenshot on your iPad is by using the Screenshot method. Here is what you will have to do to perform a Screenshot on your iPad.
- If your iPad has a Home Button, then press the Power Button & the Home Button simultaneously.
- If your iPad does not have a Home Button, then press the Power Button & any of the Volume Buttons simultaneously.
- This will take a Print Screen or Capture a Screenshot on the device.
- You can also save full-page & scrolling documents like PDFs & webpages as PDFs.
- All you have to do is take a Screenshot as shown above & tap the Screenshot.
- After that click on Full Page.
- Now save it as a PDF & choose the save location.
- You can also share it at this point.
- This is how you can take a Print Screen or a Capture Screenshot on your iPad.
There is a way to take a Screenshot without the use of a Button. Here is how you can do it
- For that, you will have to click on Settings & then Accessibility.
- After that, find the Physical & Motor section and then tap on Touch.
- From there, select AssistiveTouch.
- Activate AssistiveTouch & then head back to the Home Screen.
- Now if you navigate from the Control Center, you will be able to find the Screenshot option.
- It will be under Device & then under More.
This was all about how to take a Print Screen or a Capture Screenshot on your iPad. Hopefully, this guide has provided the necessary information you were looking for. You can also check out our other guides like How to Use the Stage Manager on your iPad.

