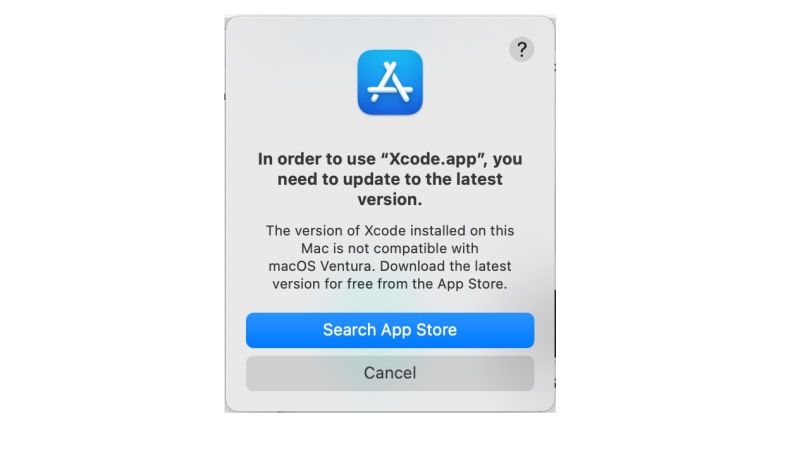
Now that macOS Ventura is available to the general public, many are having some problems using Xcode on the same operating system, and getting some kind of error message saying “The version of Xcode installed on this Mac is not compatible with macOS Ventura. Download the latest version for free from the App Store.” But even after downloading the latest version from App Store, the user still gets the same error message. So, in this guide, I will tell you how to use the updated version of Xcode on macOS Ventura.
macOS Ventura: How to Use Xcode (2023)
If you are having Xcode 13.4.1 installed, then you need to know that it is not compatible with the latest Mac operating system. You need to download and install Xcode 14 on macOS Ventura, which is the compatible version of the updated operating system. Here’s how to download and install Xcode 14 or later version from the Apple website:
- First of all, you need to go to the Apple Developer website, here is the link.
- Next, sign in with your Apple ID and Password. If you do not have one, then create a new Apple ID and then log in.
- After login in, click on the “View Details ” drop-down menu under Command Line Tools for Xcode 14.1.
- Finally, click on “Command Line Tools for Xcode 14.1.dmg” to download the latest version of Xcode on the latest mac operating system. The size of the file is 671.88 MB, so keep enough space on your Mac system.
Installing Xcode 13 on macOS Ventura
If you are still looking to install the older version of Xcode (for example Xcode 13), you can try out a workaround given below to get it on the macOS Ventura:
- Open Terminal by pressing the CMD + Spacebar keys on your keyboard and typing “Terminal” without quotes and then pressing the Return key.
- Copy and paste the following command in Terminal and press the Return key:
open /Applications/Xcode.app/Contents/MacOS/Xcode - That’s it, this will open the older version of Xcode on your macOS Ventura without any error message.
Alternatively, you can open the older Xcode version directly from the Finder. To open Finder, go to Applications Folder > Find Xcode App > Right-click on the app and click on Show Package Contents > Open Contents > Open MacOS > and then launch Xcode. This will let you open the Xcode 13 version on the latest mac operating system.
That is all you need to know about how to use Xcode on macOS Ventura. While you are here, do not forget to check out How to Install Brew on MacOS Ventura, and How to Downgrade Mac Ventura Beta to macOS Monterey.