In this article, we are going to see how to install and use the Brew or Homebrew package manager on macOS Ventura. For the unversed, the Brew or Homebrew is a very helpful and neat utility for installing command line tools that Apple no longer provides such as scripting languages that are no longer installed by default. So, follow and read this guide till the end to know how to get this Homebrew on the latest Mac operating system.
macOS Ventura: How to Install Brew or Homebrew (2023)

To install Brew or Homebrew on your macOS Ventura system, you will first have to download and install Command Line Tools for Xcode available on the Apple Developer website or from this link. You can also use another step to get command line tools built into Xcode, just open the Terminal in your macOS Ventura and type the following command and press the Return key on your keyboard: sudo ln -s /Applications/Xcode.app/Contents/Developer/ /Library/Developer/CommandLineTools
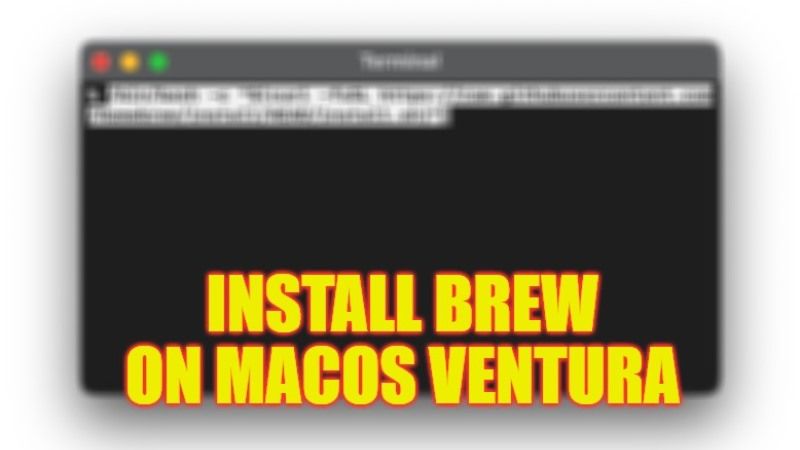
How to Install Homebrew on Mac
- First, open Terminal in your macOS Ventura, to do that just press the CMD + Spacebar keys together on your keyboard and type “Terminal” without quotes, then press the Return key.
- After Terminal launches, just copy and paste the below command in Terminal and press the Return key:
/bin/bash -c “$(curl -fsSL https://raw.githubusercontent.com/Homebrew/install/HEAD/install.sh)” - The installation process will start.
- If asked to enter your macOS Password, then type your admin password.
- You will also be required to press the Return key to continue installing the Homebrew when any prompts come.
- Finally, after a couple of minutes, the Brew will be successfully installed on your macOS Ventura.
Update Homebrew on macOS Ventura
At some other times, like any other software, Homebrew will also require software updates to improve its performance and solve other bugs or issues. So, to update the Homebrew to the latest version, just follow the steps given below:
- Open Terminal on your macOS Ventura by following the steps given above previously.
- Then, copy and paste the below text or command and press the Return key on your keyboard:
brew update - That’s it, your Homebrew will be automatically updated to the latest version.
This is everything there is to know about how to install brew or Homebrew on macOS Ventura. If you are interested in more macOS Ventura Tips and Tricks, then check out our other guides: Can You Install macOS Ventura on MacBook Air 2017, and What is Stage Manager in macOS Ventura and How to Use It.