There are two types of Internet connection in any Windows operating system, namely Wi-Fi and Ethernet networks. Both are used to make a connection on the web and access the various websites, videos, etc. online. However, there may be some times that Windows 11 will not be able to show a Wi-Fi connectivity option in the System tray or Control Panel all of a sudden. This type of problem usually happens due to corrupt Wi-Fi drivers, wireless connection blocked or disabled, or even operating system problems. Therefore, to solve this issue, in this guide, I am going to tell you how to fix the Wifi option that disappeared on Windows 11 issue.
Fix: WiFi Option Disappeared on Windows 11 (2023)
You can easily fix the Wifi option that disappeared on your Windows 11 computer by carrying out a Network Reset, updating the Wi-Fi Network Adapter drivers, or running the inbuilt Internet Connection Troubleshooter. Check out all the solutions given below to solve the Wifi problems on your Windows 11 PC below.
1. How to Perform a Network Reset on Windows 11
- First, click on the Start menu > Settings.
- Then click on Network & Internet on the left pane side.
- On the right side, go to the bottom and click on Advanced network settings.
- Navigate to the bottom again and under More Settings you will find the Network reset option, just click on it.
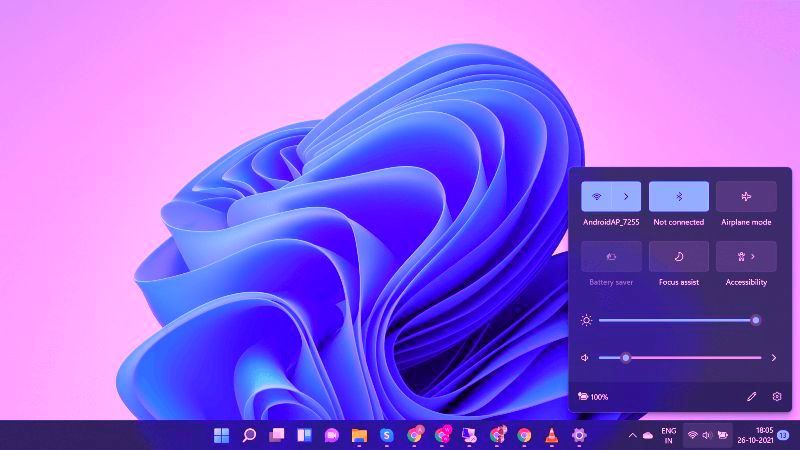
- Finally, click on the Reset Now button, and Windows will automatically fix the problem and ring back the Wi-Fi connection option.
2. How to Wi-Fi Network Adapter Drivers on Windows 11
- In the Search bar, type Device Manager and press the Enter key on the keyboard.
- This will open the Device Manager window.
- Next, click on the arrow button next to the Network Adapters section to expand it in Device Manager.
- On your Wi-Fi device, you need to right-click and then select Update driver.
- Choose the option “Search automatically for drivers”.
- Windows 11 will try to automatically download and install the driver for your Wi-Fi model or device.
- Finally, once the process is complete, exit Device Manager and you can check now that the WiFi option will be restored now.
3. How to Run Internet Connection Troubleshooter on Windows 11
- First, click on the Start menu > Settings.
- Then, select the System tab which is located on the left side pane.
- On the right side, go to the bottom and select Troubleshoot option.
- Go to the bottom and select Other Troubleshooters under Options.
- Then click the Run button for Internet Connections.
- The Windows 11 OS will automatically start scanning for Wifi issues and steps you need to perform.
- Finally, select the “Troubleshoot my connection to the Internet” option and the operating system will scan for Wifi problems and then fix them automatically.
That is all you need to know about how to fix Wifi option that disappeared on Windows 11 issue. While you are here, you might be also interested to know How to fix Windows 11 Mail App Emails Appearing in Raw HTML data, and How to Always Open the Terminal Instead of Command Prompt on Windows 11.