The PlayStation VR (PSVR) headsets are one of the most affordable Virtual Reality headsets available in the market. Sony designed them to be compatible with PS4 and PS5. However, users can still play SteamVR games on their PC using the PSVR headset and this guide will help you with the same.
PSVR: How to use the headset on PC (2023)
Since PSVR headsets are designed to be compatible with PS4 and PS5 platforms, using it on PC will need a little workaround, and here’s how you can do it:
- First, you will need to install third-party software that has drivers to make your PC compatible with PSVR. Currently, most users use ‘Trinus PSVR’ software to connect their PSVR headset to their PC.
- Now plug the HDMI cable into the HDMI port of your PSVR processing unit.
- At the same time, plug the other end of the HDMI cable directly into your GPU’s HDMI port.
- Now use a USB 3.0 cable and plug in one end to the PSVR processing unit and plug in another end to your PC’s USB port.
- Press the power button on the headset to turn it on.
- Your Windows system will recognize the headset as a new monitor connected to your PC.
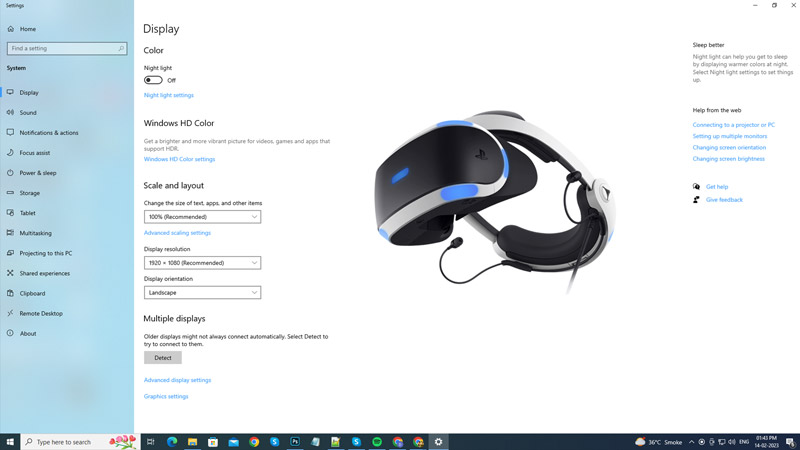
- Now right-click on your Windows desktop screen and click on the ‘Display Settings’ tab.
- Under the ‘Multiple Displays’ section, select the ‘Extend these displays’ option from the drop-down list.
- Now, under the ‘Resolution’ section, select ‘1920 x 1080’ resolution and click on the ‘Apply’ button to save changes.
- Your PSVR is connected to your PC.
However, to use PSVR to play SteamVR games on your PC, you will need to configure the third-party software and SteamVR. Here is the general workaround to calibrate PSVR on your PC:
Calibrate PSVR using third-party software on your PC (2023)
Here’s an example of configuring PSVR on your PC using third-party software. For the same, an example of Trinus PSVR setup is used in this guide. But the general method for these kinds of software are the same, and you can do it by following these steps:
- Open the Trinus PSVR application on your desktop and click on the ‘Main’ tab.
- Next to the PSVR Display, click on the drop-down and select the ‘DISPLAY1’ option.
- Now, on the ‘PSVR Mode’ drop-down, select the ‘SteamVR’ option.
- Next to the ‘Reset View’ section, click on the ‘Assign key’ button. Now assign a key from your keyboard to reset the PSVR view. This is essential to fix the tracking errors caused by your PC’s internal sensors.
- Now click on the ‘Start’ button and the software will now connect to your PSVR headset.
- Open the ‘Steam’ app on your desktop with administrative rights and click on the ‘VR’ icon.
- Now click on the Run Room Setup > Standing Only > Next > Calibrate Center > Next > Enter your height and click on the ‘Calibrate Floor’ option.
- Click on the ‘next’ option and then finally click on the ‘Done’ button.
- Now, the SteamVR homepage will appear on your screen in a Split-screen view.
- Press the ‘Windows’ + ‘Shift’ + ‘Right Arrow’ keys on your keyboard to move the PC window to your PSVR window and wear the headset.
- Now you can enjoy the VR game with mouse and keyboard controls on your PC.
That’s everything covered on how to use a PSVR headset on a PC. Also, check out our other guides, such as How to update the Rec room on Oculus Quest 2 VR headset or How to cast Oculus Quest 2 on a TV.