While giving a presentation on Zoom, the presenter or the participants might need to comment on the screen for better communication. For this purpose, Zoom has introduced the ‘Annotation’ tool to make the session interactive. Even if you face video glitching errors during your presentation, using annotations on Zoom can maintain the flow of the session. New users may find it difficult, but this guide will make it easy for you.
Zoom: How to use the Annotation tool (2023)

To use the Annotation tool on Zoom for any device, follow these steps:
Annotations for Desktop users (Windows/Mac/Linux)
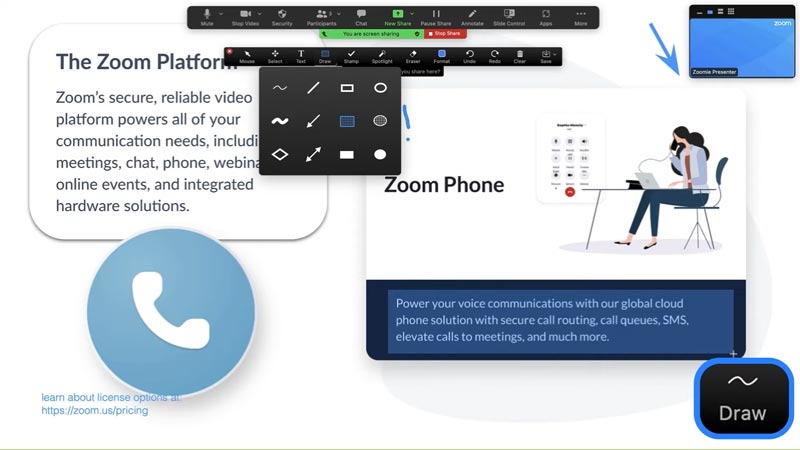
On Zoom meeting, after sharing your Screen or Whiteboard, click on the ‘Pencil’ icon. This opens all the annotation options available on your device. All the available options to annotate for desktop users are:
- Mouse – Deactivates annotation tools when enabled.
- Select – Move or resizes the annotation tool.
- Text – Enables texting on screen.
- Draw – This allows you to draw shapes and lines and even lets you insert arrows.
- Stamp – Allows you to insert objects like stars, crosses, hearts, and more.
- Note – highlights using semi-transparent rectangles or circles.
- Spotlight – Highlights your cursor.
- Format – Allows you to format your Annotations using options like color, font, and line width.
- Eraser – Erases parts of annotation.
- Undo & Redo – Removes or adds the previously changed annotations. You can use the keyboard shortcuts to Undo and Redo the annotation.
- Clear & Save – The ‘Clear’ button clears all of your annotations from the screen, whereas the ‘Save’ tool saves the annotation on the Local storage.
Annotations for Android users
To use annotation on Android, tap on the ‘Pencil’ icon on your shared screen. You can use the following annotation options on your Android phone:
- Pen/Highlighter – Tap on the Pen or Highlighter tool to switch between them. The Pen tool allows you to doodle on the screen and the Highlighter tool highlights the part.
- Arrow – Draws an arrow on the selected color.
- Shape – This is only available for tablets and allows you to insert shapes like lines, rectangles, or ovals.
- Text – It is only available for tablets. Allows you to type text on selected color.
- Color – Allows you to change the color of your annotation.
- Eraser – Erases parts of annotation.
- Undo & Redo – It is only available for tablet users and allows you to Remove or add the previously changed annotations.
- Clear – Clears the annotation completely from the screen.
- Save – Saves your annotation on local storage.
Annotation for iOS users
To use annotation on iPhone, tap on the ‘Pencil icon after sharing the screen. You can use the following annotations on your iPhone:
- Spotlight – Helps in pointing out the points with the help of a red dot that is always present on the screen.
- Pen/Highlighter – Pen helps in doodling, and a highlighter helps in highlighting the parts of the screen.
- Arrow – Allows you to draw an arrow, and it’s only available for iPad users.
- Shape – Allows you to draw lines, rectangles, or ovals.
- Text – Allows you to type a text, and it’s only available for iPad users.
- Color – Allows you to change the color and line width of your annotation.
- Eraser – Helps you to erase some parts of your annotation.
- Undo & Redo – Removes or adds the previously changed annotations.
- Clear – Removes the annotation completely from your screen.
- Save – Saves your annotation on local storage.
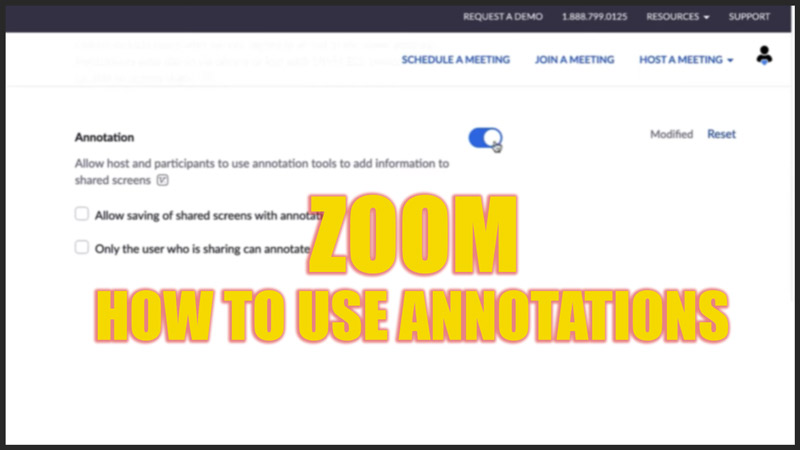
Note that you can only use annotations if you have enabled them from the settings. To enable annotations, go to Settings > Meetings > Meeting (Basic) > toggle on the ‘Annotation’ option.
That’s everything covered on how to use annotation on Zoom. Also, check out our other guides, such as How to change the background on Zoom or How to change the name during the ongoing meeting on Zoom.
