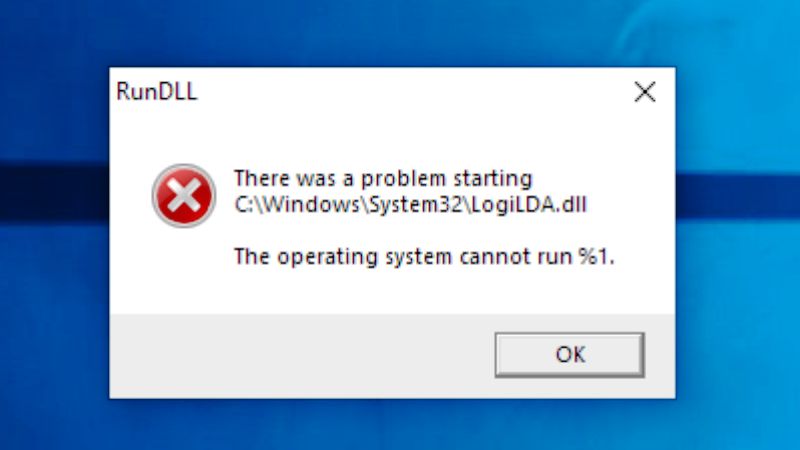
There are a few users who have reported that they are getting an error on their Windows PC that is related to some LogiLDA.dll file. Basically, this file belongs to Logitech devices that are connected to your computer and if there are any problems related to connectivity, you are bound to get this error. The devices can range from anything like a mouse, keyboard, or even a webcam. Therefore, in order to solve this issue, in this guide, we will tell you how to fix “There Was a Problem Starting logiLDA.dll” error on your Windows operating system.
Fix: “There Was a Problem Starting logiLDA.dll” Error on Windows (2023)
You can easily fix the “There Was a Problem Starting logiLDA.dll” error on your Windows PC by deleting the Logitech Download Assistant application from Startup or else by reinstalling the Logitech Drivers. Below, you can check out both methods to resolve the Logitech error you are getting on your computer.
How to Remove Logitech Download Assistant from Startup
If the Logitech Download Assistant program is installed on your PC, you can try to remove it during startup which mostly causes the LogiLDA.dll error, here’s how it is done:
- First, right-click on Taskbar and then click on Task Manager to open it.
- Alternatively, you can also press the CTRL + Alt + Del keys together on your keyboard to open Task Manager.
- Click on the Startup tab.
- Under the Startup tab, search for Logitech Download Assistant and right click on it and select the option of Disable.
- Finally, restart your PC to fix the LogiLDA.dll error on your Windows computer.
How to Reinstall Logitech Drivers
- Right-click on Start Menu.
- From the list of options, click on Device Manager to open it.
- Click on the arrow next to Keyboards, as well as Mice and other pointing devices, and then right-click on HID Keyboard Device and HID-compliant Optical Wheel Mouse respectively and select Uninstall device.
- Finally, restart your PC, and the next time your computer boots, it will automatically try to reinstall the Logitech drivers.
That’s all there is to know about how to fix “There Was a Problem Starting logiLDA.dll” error on your Windows PC. In the meantime, do not forget to check out our other guides only on TechNClub.com: How to fix Logitech Unifying Software Not Detected on Windows, and How to Disassemble Logitech Mouse.