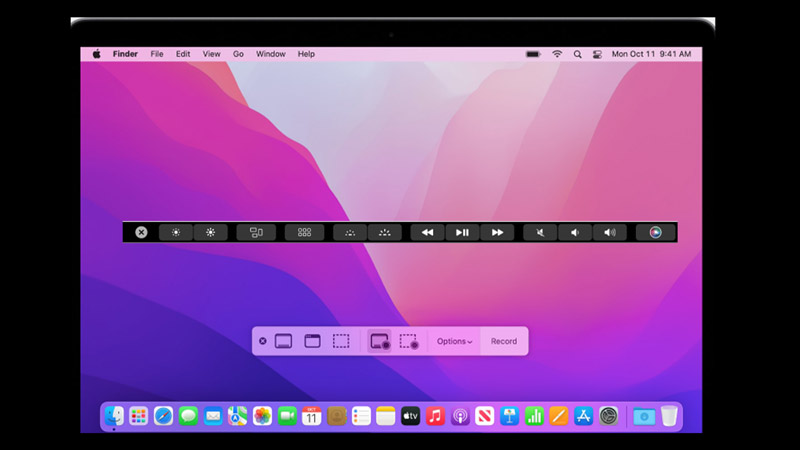
On macOS Ventura, you can change the layout of your Touch Bar and might want to take a snippet of it. Affirmatively, you can take screenshots on Mac for this. But if you only want to take a screenshot of your Touch Bar with a keyboard shortcut on your Mac Ventura, it is possible with the help of this guide, so follow the steps given below to find out how it is done.
Mac Ventura: How to take screenshots of Touch Bar (2023)

To take a screenshot of Touch Bar on Mac Ventura, follow these steps:
- Press the ‘Command’ + ‘Shift’ + ‘6’ keys on your keyboard.
- Your MacBook will take the snap of your Touch Bar and save it on your desktop.
- You can open it in the ‘Preview’ app and click on ‘Tools’ to open the menu.
- Select the ‘Crop’ option from the menu to crop the image. You can also click on the ‘Annotate’ option to use annotation tools.
- Note that when you only take a Touch Bar screenshot, it will open as a thin and long screenshot, which is unusual. This is because the Touch Bar screenshots on Mac are set to a resolution of 2170 x 60 pixels.
How to Enable Screenshots with Touch Bar
Mac with Touch Bar may not have screenshot options by default. Hence, you will first need to bring the screenshot option on your Bar by following these steps:
- Open System Preferences on your Mac Ventura desktop.
- Click on the ‘Keyboard’ tab.
- Now click on the ‘Customize Control Strip’ button.
- Tap and drag the ‘Screenshot’ icon to the control strip area and click on the ‘Done’ option.
- Now you can tap the ‘Screenshot’ icon on your touch bar and take a screenshot of a selected portion, window, or an entire screen with an easy click.
That’s everything covered on how to take Touch Bar screenshots on Mac Ventura. Also, check out our other guides, such as How to screenshot a webpage on Mac or How to take a screenshot on the new MacBook Air.
