After every six months, Microsoft rolls out a new feature update that automatically installs on all Windows 10 PCs through Windows Update. A feature update is a new version of Windows 10 that installs on your computer through an upgrade process. In 2018, for example, two feature updates were installed automatically on your PC, smoothly, that is in March it was Windows 10 1803 and in October it was Windows 10 1809. In addition to that, every month, there are quality updates (also called cumulative updates) that Microsoft deploys to all Windows 10 PCs to improve system security and reliability. You don’t want these updates to be installed automatically on your computer (most often so as not to wipe the plaster and avoid sometimes critical bugs)? In this guide, we are going to see how to specify target feature update on Windows 10 in several different ways.
Steps To Specify Target Feature Update on Windows 10

If you want to delay the installation of updates or specify target feature update on your computer as long as possible, the Professional, Enterprise, and Education editions of Windows 10 offer options of Setting the target version of Windows 10 using Group Policy. Below you will find the steps to resolve the issue.
How to Set the target version of Windows 10 using Group Policy
Since Windows 10 2004, deferring Windows Update updates is done from the Local Group Policy Editor (gpedit):
- Open the Local Group Policy Editor by entering gpedit.msc in the Run command.
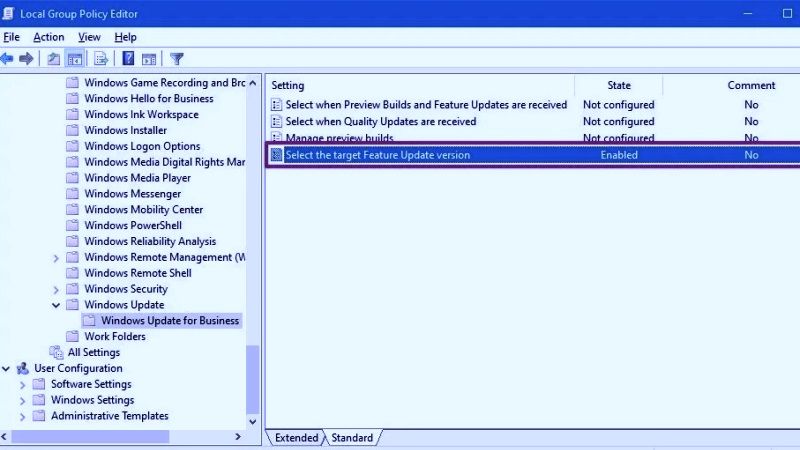
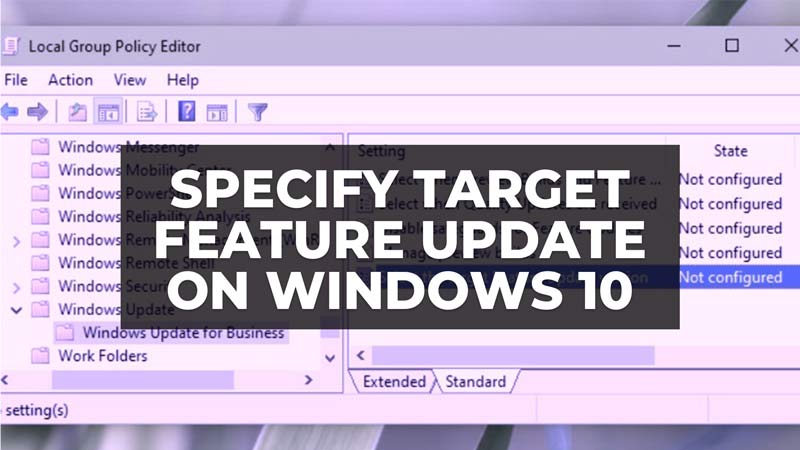
- Navigate to Computer Configuration > Administrative Templates > Windows Components > Windows Update > Windows Update for Business.
- To defer feature updates:
- Double-click the policy of Select target Feature Update version.
- Select Enabled, choose Semi-Annual Channel, and enter the number of days that feature updates will be deferred (up to 365 days).
- Click OK to save changes.
- To defer quality updates:
- Double-click Choose when to receive quality updates.
- Select Enabled and enter the number of days that quality updates will be delayed (up to 30 days).
- Click OK to save changes.
- The update deferral setting(s) you configured are now in the Enabled state.
- Windows Update now displays “Your organization manages certain settings”, and the deferral of feature and/or quality updates is taken into account.
- That’s it, you have successfully postponed Windows 10 feature and/or quality updates for the number of days you set!
That is everything you need to know about how to specify target feature update on Windows 10. If you are searching for similar types of Windows 10 Guides, check out our other articles only on our website TechNClub.com: How to fix MSN Games Not Working on Windows 10, and How to Write Infinity Symbol from Keyboard on Windows 10.
