
Snipping Tool is a screenshot software that comes already built into Windows. With the help of this software, you will be able to capture the contents of your screen and it will let you to draw on it. You can then save or share your work. Now on Windows 11, many users are having problems with the Snipping Tool application which is not opening always force closes when you click on it. In this guide, we will explain how you can fix Snipping Tool not working in Windows 11 below.
How to Fix Snipping Tool Not Working in Windows 11
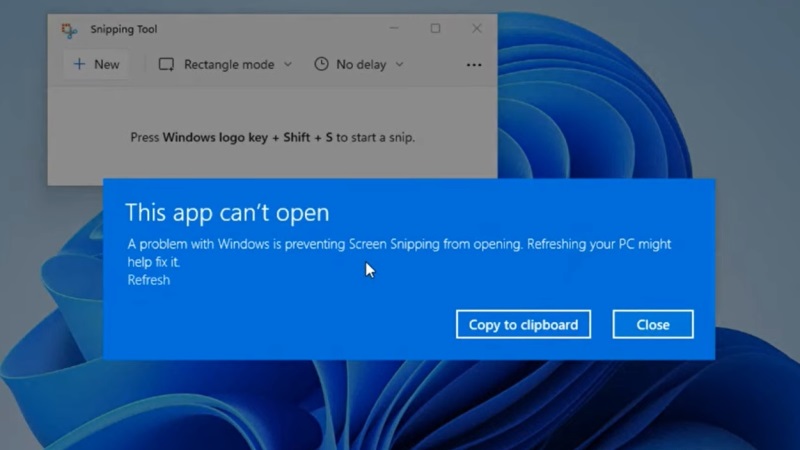
There are some reports from users being unable to use the Snipping Tool as it doesn’t open when they try to open it. This problem is undoubtedly quite annoying, especially if you are an active user of the Snipping Tool.
Regarding the issue, there are a number of workarounds on how to fix Snipping Tool Not Working in Win 11 out there, including turning off Set Time Automatically on the Time & Language page in Settings, or via Windows Update.
However, there is one recommended solution for this issue which is to update your Windows 11 with the optional update that Microsoft has just released. In other words, this issue has been resolved by Microsoft itself as they have provided an optional update KB5008295 which fixes this issue.
Here’s how to download the KB5008295 update to fix Snipping Tool not opening issues on Windows 11:
- First of all, in the Search bar, type Settings and then click on the Settings app to open it.
- After that, click on Windows Update.
- Now, tap on the Check for updates button to install update KB5008295.
- After the update is downloaded on your Windows 11 PC, just restart your computer to install it.
- Done.
So, just make sure to download and install the KB5008295 to fix the Snipping Tool Not Working problem on your Windows 11 system. Also, do not forget to check out other Windows 11 Guides such as how to change power mode in Windows 11, or fix for Windows 11 bug that charges laptop battery over 100%.