There are many users who are facing poor upload speed of the Internet on the Windows operating system compared to the download speed. For example, if the download speed is upto 150mbps, then users get around 18-19 Mbps download but in comparison, the upload speed is very low to 1mbps to 3mbps only. Even after enabling and disabling the router and modem the problem still persists. So how can one solve this upload speed problem of Internet connection? Well, in this guide, we will tell you all the methods to fix the slow upload speed issue on Windows 11 below.
Fix: Slow Upload Speed Issue on Windows 11 (2023)

To fix the slow upload speed on Windows 11, check whether the Killer Control Center application is installed on your system, if so, then disable it to resolve the issue, follow the steps below to do that:
- First of all, launch the Killer Control Center software installed on your Windows 11 PC, you can type the same software in the Search bar and open it.
- Once the software opens, click on the Settings tab, which is located on the left side.
- Then turn off the Killer Prioritization Engine or Advanced Stream Detect.
- After that right-click on Taskbar and then click on Task Manager to open it.
- Under Task Manager, click on the Startup tab at the top.
- Search for Killer Control Center, right-click on it, and disable the same software from Startup.
- That’s it, this will fix the slow upload problem on Windows 11.
Enable and Configure Internet Bandwidth Limit
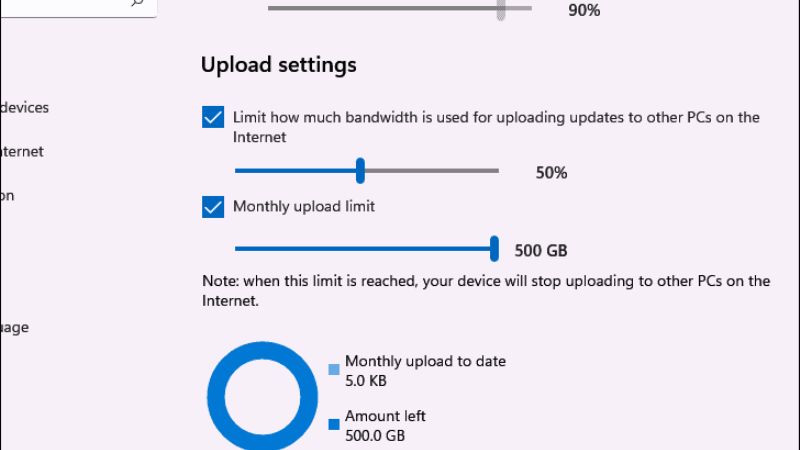
Windows 11 may not provide 100% of your connection speed, as 20% is reserved for system use. That means you only have the remaining 80%. Therefore, to reach the maximum speed of 100%, you need to turn on and adjust the “bandwidth to reserve” threshold setting, and to do that follow the steps below:
- Press the “Windows + R” keys together.
- Inside the “Run” box, type “gpedit.msc” in the dialog box field, and then click on the “OK” button.
- In the “Local Group Policy Editor”, click “Computer Settings”.
- Just below, double-click on “Administrative Templates”, and then on “Network”.
- After entering this folder, click on “QoS Packet Scheduler”.
- Finally, double-click on the “Limit Reservable Bandwidth” option, check the “Enabled” option, adjust the bandwidth limit (to 100 or as per your need), and click the “OK” button.
That is all you need to know about how to fix the slow upload speed issue on Windows 11. In the meantime, do not forget to check our similar types of Windows 11 Guides here: How to Remove Authenticator App for Windows 11, and How to Turn Off Touch Screen on Windows 11.
