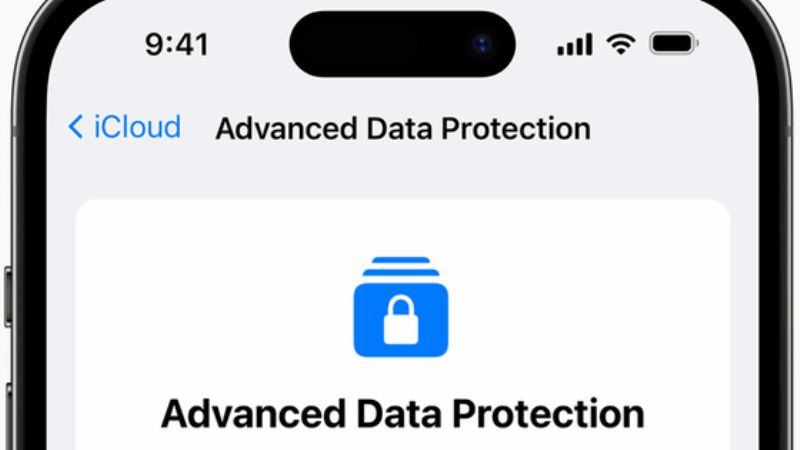
A password is all that separates an attacker from full access to your address book, messages, photos, and private information, including credit cards and bank accounts. For this, it is critical to protect the data stored in iCloud in all possible ways. And today, in this guide, we will suggest you some excellent tips and tricks that will allow you to add an extra layer of security, an extra pin code to access iCloud settings, like how to set up Three-factor authentication.
iCloud: How to Set Up Three-Factor Authentication (2023)

iCloud serves to simplify the management of your data online and improve your experience using Apple devices. But it’s crucial to protect your iCloud data with strong encryption and passwords to prevent bad guys from gaining access to it. And that’s why Apple created 2-Factor Authentication. However, below we will tell you the steps to set up Two-factor authentication as well as Three-factor authentication for your iCloud account.
How to Secure Your iCloud Account with Two-Factor Authentication
iCloud Two-factor authentication is a security method that requires two pieces of information to access your iCloud account: your password and a verification code. This code is sent to your Apple device or phone number when you try to sign in from a new device or web browser. This way, only you can access your iCloud account, even if someone knows your password.
Sometimes, however, even this measure is not enough. That’s why you can and should set up an additional level of security, taking advantage of the protection mechanisms offered by iPhone, so in this case you should turn on 3-factor authentication on your iCloud account.
Turn ON Three-Factor Authentication for iCloud
To turn on the Three-factor authentication for iCloud, the trick is to set a passcode to access iCloud settings through Screen Time.
Screen Time is a feature introduced by Apple on iPhone, iPad, and iPod touch that allows you to monitor and manage the time spent on devices and apps. It was originally created to choose whether a device is yours or a minor’s and to set a code to protect apps and settings from unwanted access.
Enabling it in the iCloud settings, however (and even if you are not a minor), you will get a beneficial side effect: even if anyone steals your device and somehow manage to steal your password, they will hit another wall. The PIN to access iCloud settings.
Turn on the Content & Privacy Restrictions switch in Settings > Screen Time > Content & Privacy Restrictions. Then, in the Allow Changes section, turn on the Disallow item. Finally, go back to the main Screen Time screen and turn on the option “Use Screen Time Passcode”.
From now on, your iCloud settings will be grayed out, and not accessible. To be able to change them, you will need to open Settings > Screen Time > Restrictions and privacy content and enter your PIN to disable them. That’s it.
That is all you need to know about how to set up Three-factor Authentication for iCloud. If you are searching for more iCloud Guides, check out our other articles here: How to Turn Off iCloud Backup on iPhone 14, and How to fix iCloud Files Not Downloading on iPad and iPhone.
