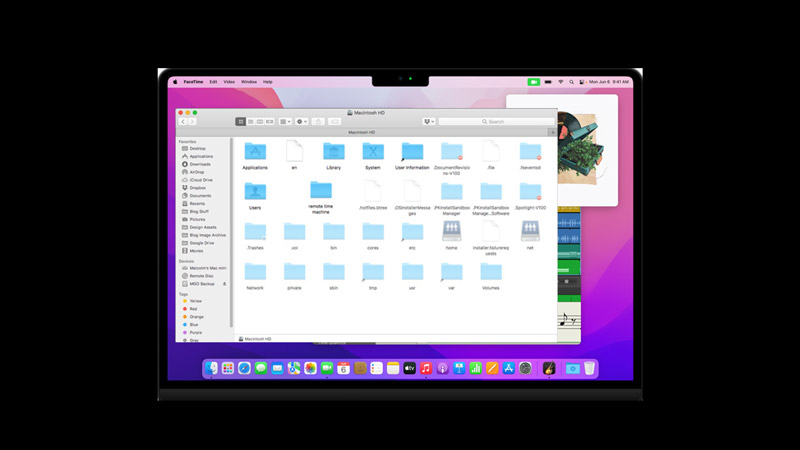
Hidden files are usually system files that are not meant to be modified by users, but sometimes you may need to access them for troubleshooting or other purposes. Sometimes, you might want to access these hidden files to make changes to your system files, such as troubleshooting corrupted drivers or relocating a program directory. Hence, to see the hidden files on your Mac computer, this guide will help you.
Mac: How to see Hidden Files (2023)

To see the hidden files on your MacBook, you can use the Finder app or the Terminal app, and here’s how you can do it:
1. Use Finder
The easiest way to see hidden files on Mac is to use the Finder app. Here are the steps:
- Open the Finder window and navigate to the folder where you want to see hidden files.
- Press and hold the ‘Command’ + ‘Shift’ + ‘Period (.)’ keys on your keyboard.
- All the hidden files will appear on the Finder window.
- Hidden files are shown in a semi-transparent form which can help you to identify them easily.
- If you want to hide the hidden files, press the above-mentioned keys once again.
2. Use Terminal
Another way to see hidden files on Mac is to use the Terminal app, and here’s how you can do it:
- First, open the Terminal app by going to Finder > Applications > Utilities folder.
- Now type the following command on the Terminal screen and press the ‘Enter’ key on your keyboard:
defaults write com.apple.finder AppleShowAllFiles TRUE
- This will change a setting in the Finder app, showing you all hidden files and folders.
- Now restart the Finder tool to apply the changes.
- Alternatively, you can hold the ‘Option’ key on your keyboard and right-click the Finder icon in the Dock, then select ‘Relaunch’ from the pop-up menu to view the hidden files.
That’s everything covered on how to see hidden files on Mac. Also, check out our other guides, such as How to Launch and Run iPhone and iPad apps on Mac Ventura or How to Change the Hosts file on Mac Ventura.
