Windows 11 upgrade or sometimes a driver update can lead to Audio issues. This is where a Mic is not working correctly or the speaker’s sound quality is terrible. For all these issues there is a basic fix. By resetting Windows 11 audio settings, you can fix the majority of sound-related problems. Also if things do not work well a final driver update is required. This guide covers everything about fixing Sound related issues on Windows 11.
How To Reset Sound Settings in Windows 11?
In case of a wrong audio output or no sound, while playing music, you can reset the sound settings from the System menu of Windows 11. Follow the steps below.
- Click on Start and type Settings.
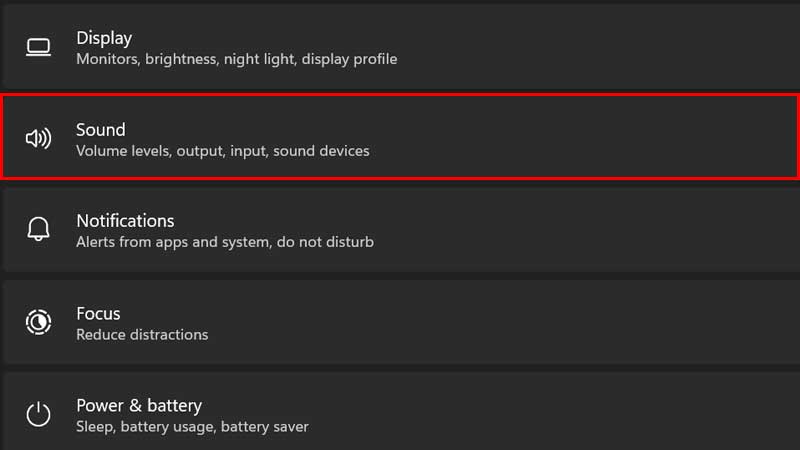
- Click on System > Sound
- Scroll down to Advanced > Volume Mixer > Reset
This will reset everything in Windows 11 and restore the default audio settings. This is best to use when you have used multiple audio devices and facing configuration issues. Later on under Sound, you can further do adjustments to the default output device. For example Under Sound > Output, you can select the default output device and manage the following audio settings.
- Format
- Volume
- Left Channel
- Right Channel
- Audio Enhancement
- Microsoft Audio Home Theater Effects
- Spatial Audio

Adjust the sound settings as per your need, and if you are not happy then just go to Sound > Volume Mixer and click the Reset button. Another way to completely wipe out all Sound Settings is by removing the Audio Driver. You can restore the drivers back using tools like Driver Booster. Most of the time Windows 11 will automatically find the basic audio driver, but Driver Booster will give you as per the Sound Device or motherboard. Or you can manually download the driver from your Motherboard manufacturer’s website. A much safer way is to Roll Back the driver instead of uninstalling it. This also fixes many audio-related issues in Windows 11. Follow the below steps to roll back old audio drivers on Windows 11.
- Click on Start > Type Device Manager.
- Go to Audio Inputs and Outputs> Right-click on Speakers > Properties.
- Driver > Roll Back Driver.
For more help, you can check our guide on Download Realtek Audio drivers for Windows 11. And also check how to fix Dolby Audio Error on Windows 11 if your system has this feature.