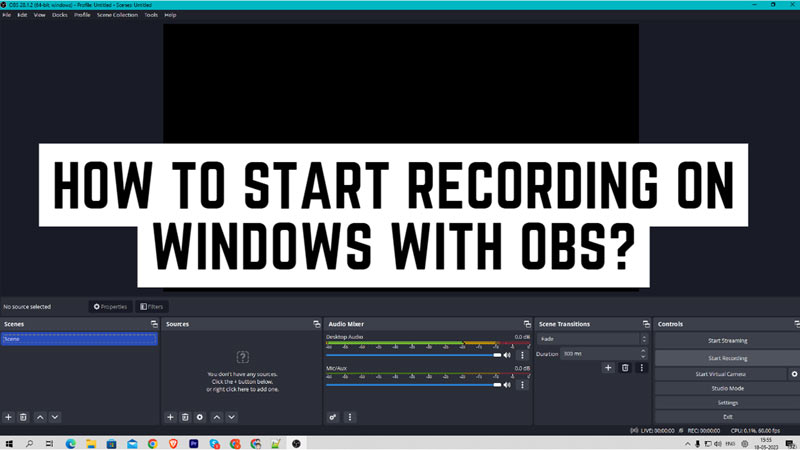
OBS (Open Broadcaster Software) is a free and open-source software for video recording and live streaming. It allows you to create scenes made up of multiple sources, such as window captures, images, text, browser windows, webcams, capture cards, and more. Also, you can set up an unlimited number of scenes and switch between them seamlessly via custom transitions. OBS supports all your favorite streaming platforms and more. Hence, record the screen with the help of OBS on your Windows desktop.
Windows: How to Record Screen on OBS?
To record your screen using OBS, follow these steps:
1. Add a Display Capture Source
To record your screen with OBS, you need to add a display capture source to your scene. A display capture source captures the entire screen or a specific monitor. Hence, to add a display Capture Source, follow these steps:
- Firstly open the OBS app and, go to the Sources box at the bottom of the OBS window and click the ‘+’ button.
- Then select the ‘Display Capture’ option from the list.
- A new window will pop up where you can name your source and choose which display you want to capture.
- Also, you can adjust the crop and transform settings if you want to change the size or position of your capture.
- Then click the ‘OK’ button when you are done.
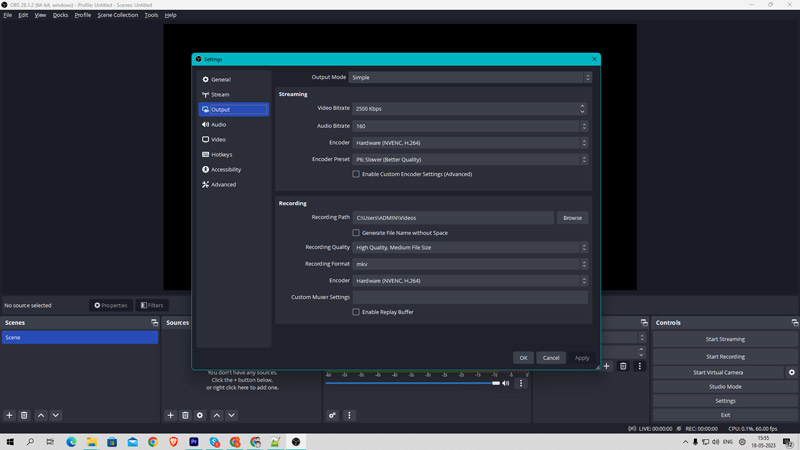
2. Select a Recording Path
Before you start recording, you need to select a recording path destination to save the recording files, and you can do this by following these steps:
- Firstly, click the Settings option from the bottom-right corner of your OBS screen.
- In the Settings window, click the ‘Output’ tab and select the file destination from the Recording Path.
- Finally, click the ‘Start recording’ button from the bottom-right corner of the OBS screen to start screen recording.
That’s everything covered on how to screen record on Windows with OBS. Also, check out our other guides, such as the Best OBS settings for the low-end PC or How to get rid of Copy protected error on Streamlabs.