
Many users use the NVIDIA Control Panel to manage their graphics card settings because it allows them to customize graphics options for individual games. It is possible to control screen brightness, gamma, and color saturation on the Desktop as well as activate additional graphics settings for any specific game. However, sometimes when you are making changes in the NVIDIA Control Panel, the application does not save your settings. What happens is that, when you close the program, all modifications are deleted and the application restores the previous settings. So, how do you solve this problem? Well, in this guide, I am going to tell you how to fix the NVIDIA Control Panel not saving settings in Windows below.
Fix: NVIDIA Control Panel Not Saving Settings in Windows (2023)
The problem with the NVIDIA Control Panel not saving settings in Windows is related to the permissions to the folder where files with our values and modifications are stored. The NVIDIA Control Panel cannot access this folder, so there is no way to save our changes. To resolve this issue, make sure that you have the appropriate level of permissions for the specific folder on the drive.
Disable the NVIDIA Control Panel (if you have it currently enabled), then open “My Computer” and navigate to the “C:” drive, then enter the “ProgramData” directory. If you don’t see it, that’s okay – in the File Explorer window, left-click on the top bar, where you can see the current path (“Computer > Local Disk (C:)”).
After clicking, you can edit the path and enter your own. Enter the following text and press Enter:
C:/ProgramData/
The contents of the ProgramData directory will appear. Inside you will find a folder named “NVIDIA Corporation”. It is for this folder that we need to change the permissions. Then simply right-click on the “NVIDIA Corporation” folder and click on the “Properties” menu.
In the new window, go to the “Security” tab to view the security options for this folder. You will find the groups or usernames that have access to this folder. After selecting one of them, details about the level of access a given group or user has will be displayed at the bottom.
We need to set it up so that there is only an item called “Everyone” in the list of groups/users and it has “Full Control” access. Then you have to click the “Edit” button to change the permissions.
In the new window, click “Add…”. You will come across a user or group selection window. In the “Enter object names to select” field, enter “Everyone” and click “Check Names”. The entry “Everyone” will be underlined, which means that the system found such a group. Click “OK” to add it. “Everyone” will now appear in the list – you can select and delete the remaining group and user names.
The next step is to select the “Everyone” group in the list to view its detailed permissions. Make sure “Allow” is checked in the “Full Control” box. The “Everyone” group must have full control permission. When done, click “Apply” to save the changes and “OK” to close the window. Now you can restart the NVIDIA Control Panel and make your modifications – they will be properly saved and remembered.
Here’s a summary of the method discussed above:
- Enter the Program Files folder in “C:\” and find the Nvidia Corporation folder.
- Set full permissions to “Everyone” in the Security tab.
- Enter the X86 Program Files folder also in C:\ find the Nvidia Corporation folder and do step 2 (if the system is 64bit).
- Go back to the Program Files folder:
- Enter the Nvidia Corporation folder;
- Enter the Control Panel Client folder and right-click nvcplui.exe;
- Go into properties;
- On the Compatibility tab, check the box for “Run this program as an administrator”.
- Press OK.
- Restart the PC.
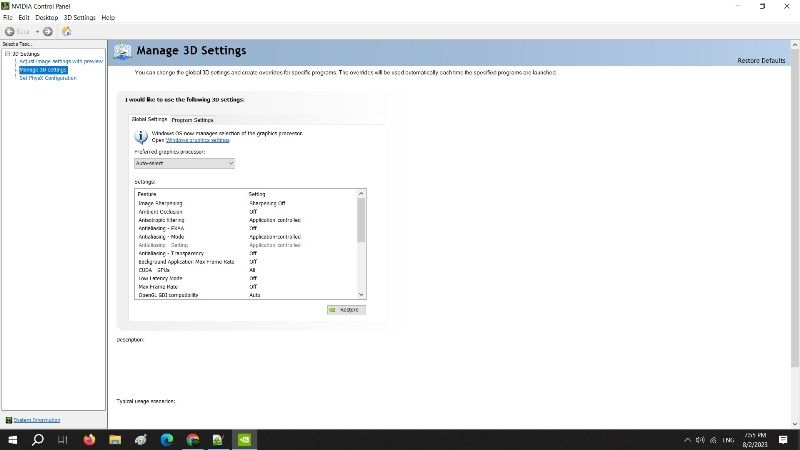
- Enter the Nvidia Control Panel and try to set the settings in Manage 3D settings. This time the settings will be saved now.
That is all you need to know about how to fix the NVIDIA Control Panel not saving settings in Windows. In the meantime, do not forget to check out similar types of guides here: How to Uninstall Nvidia Graphics Drivers on Windows, and What is the Power Supply Requirement of Nvidia RTX 4080?