As you all know, Microsoft Teams is a messaging app for businesses. But not only that it’s a workspace for real-time collaboration and communication, meetings, and file and app sharing. All in one place, open and accessible to everyone. However, people new to MS Teams would like to check how its video and audio functions work before trying out the application. Therefore, in this guide, we will tell you how to make a test call on Microsoft Teams with the proper steps given below.
How to Make a Test Call on Microsoft Teams (2023)

If you have any doubt whether the microphone and camera on your PC are working fine to make a video call on the platform, you need to know that you can easily make a test call on Microsoft Teams to check the audio and image quality. Check the steps given below on how to do that:
Test Video and Audio in Microsoft Teams Before Making Calls
- First, download and install Microsoft Teams on your PC from the official website of Microsoft.
- After that, launch the application.
- Next, click on the Profile Pic, which is located in the upper right corner.
- In the next menu, click on Settings.
- You will come across a new window, here you have to click on the Devices tab.
- Then select the option of “Make a test call”.
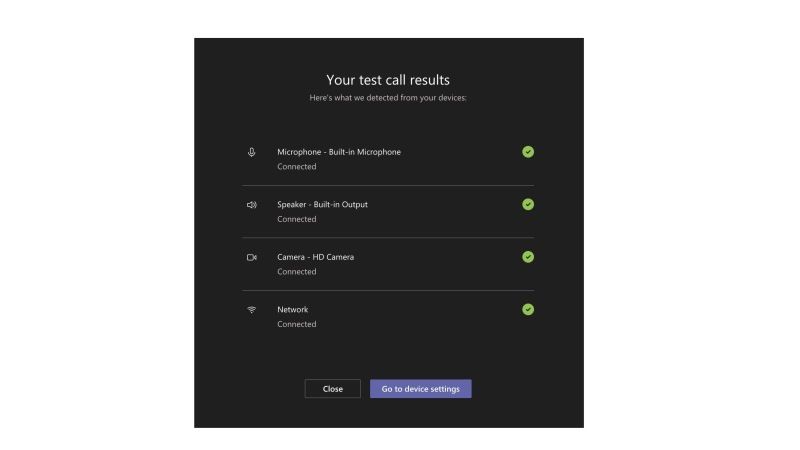
- You will now see that a call will be initiated to check that the web camera on your PC is working fine. As for the audio quality check, you need to speak for some time and then listen to your same recording.
- Finally, once the call is ended, you can then check if all the devices are working properly. If you get any issues, then you can go to devices settings to troubleshoot any kind of issues you are getting with the web camera and microphone.
That is everything you need to know about how to make a test call on Microsoft Teams. If you are searching for more Microsoft Teams Tips and Tricks, check out our other guides only on TechNClub.com: How to Fix Microsoft Teams Camera Not Working, How to Stop Microsoft Teams from Opening on Startup.
