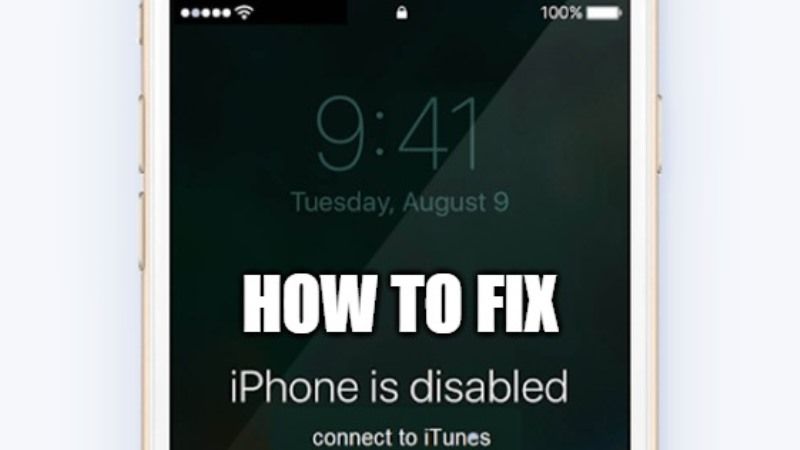
If you are using an iPhone and have put an incorrect passcode several times, then you may have gotten an error message saying that “iPhone is disabled. Connect to iTunes.” The error message usually varies depending on how many times you have entered the wrong passcode to unlock your iPhone. Sometimes you will get “iPhone is disabled. Try again in 1 minute” or sometimes you will get “iPhone is disabled. Try again in 2” error messages. So, in this guide, I will explain how you can fix this ‘iPhone is disabled. Connect to iTunes’ error once and for all.
How to fix “iPhone is disabled Connect to iTunes” error message
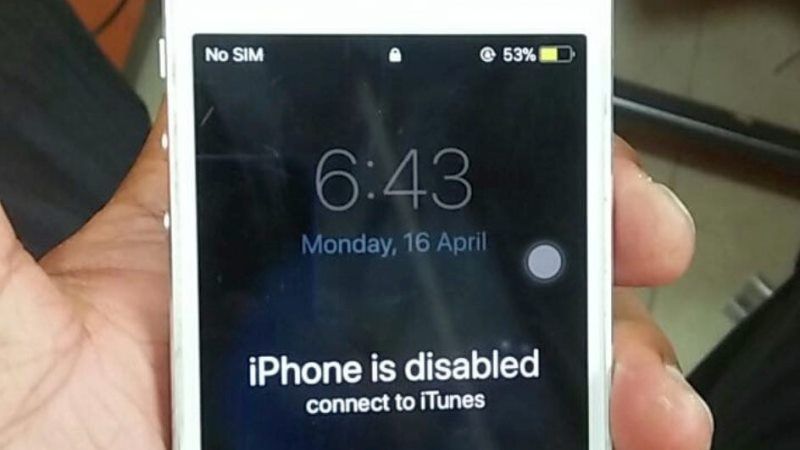
Sometimes, without even notifying your iPhone displays an error message “iPhone Disabled Connect to iTunes.” Even after several unsuccessful attempts to unlock your iPhone, it is still not accessible. This happens because iPhone offers several security measures, one of which is designed to prevent attempts to hack your passcode.
So, depending on the number of mistakes made while trying to unlock your iOS, a wait time is imposed before you can try it again. And you will get various error messages listed below.
- 4 incorrect passcode attempts: this is the maximum before locking your iPhone.
- 6 incorrect passcode attempts: wait for 1 minute.
- 7 incorrect passcode attempts: 5-minute wait.
- 8 incorrect passcode attempts: wait of 15 minutes.
- 9 incorrect passcode attempts: 1-hour wait.
- 10 incorrect passcode attempts: iPhone is disabled. Connect to iTunes.
Method 1: Restore Disabled iPhone with iTunes:
The only way to fix this issue is to restore your iPhone with iTunes. To do this, you need to ensure that you have the latest version of iTunes installed on your computer. Here are the steps that you need to follow.
- First of all, you need to connect your iPhone to the computer.
- iTunes will try to launch automatically. If not, then launch the application on your computer.
- Under iTunes, you need to select your iPhone and go to Summary.
- After that click on Save now.
- When you are done with the above steps, click on the Restore iPhone options.
- You can choose to set it up as a new iPhone or restore it from an updated backup.
- That’s it, once your iPhone is restored, you will no longer get the “iPhone is disabled Connect to iTunes” error messages.
Method 2: How to Reactivate Disabled iPhone with iCloud
On your iPhone, if you have previously enabled Find My iPhone before your device was locked, navigate to the icloud.com/find website to delete the data from your iPhone. Just note that an active Wifi connection is needed to attempt this method. Also, you must have your Apple ID and password to be able to erase a device from iCloud. Follow the steps given below on how to do that:
- First, you need to sign in with your iCloud account.
- After that select the disabled iPhone you want to erase from all your devices.
- After that click “Erase iPhone” to delete all content from the device and its passcode as well.
- Once the above process is finished, you can then configure your iPhone as new or restore it from a backup.
That is everything you need to know about how to fix the “iPhone is disabled Connect to iTunes” error message. In the meantime, do not forget to check out how to unlock iPhone without passcode and Face ID, and how to fix the Software Update Failed on iPhones.