
Your system uses RAM to process and load data quickly. However, when playing high-end games on your PC, you may need to use Video RAM (VRAM). VRAM stores the information for your GPU to quickly output the data. This can prevent lagging on Windows desktops and provides a smooth experience while playing a game. Hence, to increase dedicated video RAM on Windows 10 & 11 desktops, this guide will help you.
Windows 10 & 11: How to Increase Dedicated Video RAM (2023)
To increase dedicated video RAM on Windows 10 & 11 desktops, you can follow these below-mentioned methods:
1. Use BIOS to increase VRAM
- Restart your Windows on BIOS mode by pressing the dedicated BIOS key, from your keyboard, which is different for different motherboard manufacturers, such as F12, Esc, F2, and more. Hence, we recommend visiting your motherboard manufacturer’s website to know the procedure to enter the BIOS mode.
- Select any of these options available on the BIOS menu – Advanced, Advanced features, or Advanced Chipset Features
- Now search for options with names like Graphics Settings, Video Settings, or VGA Share Memory Size and select it.
- Here you should get an option for adjusting the memory allocation for GPU. Select that option and choose the amount of memory you want to allocate to your VRAM.
- In some desktops the default space allocated to GPU is 128 MB, you can change it to 256 MB or 512 MB if you have enough space to spare.
- Now save the changes and exit BIOS by restarting your desktop.
2. Use Windows Registry Editor to increase dedicated VRAM
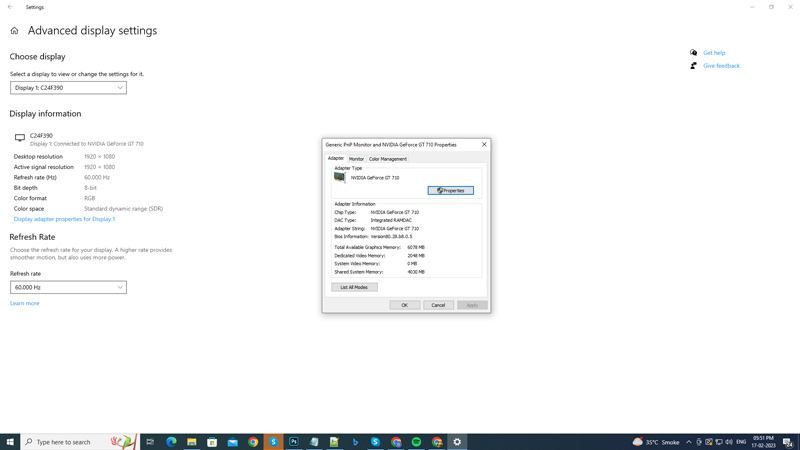
Although allocating space to GPU using BIOS is effective, it isn’t a reliable method, especially when your desktop doesn’t have enough space to spare. In such cases, you can modify the registry to fakely increase your video RAM. Since integrated graphics have an assumed Dedicated Video Memory value, they can be manipulated. This is useful to play the games that restrict you from playing due to low VRAM, as the system reports a dummy value to the game. Hence, to use Windows Registry Editor, follow these steps:
- Type ‘regedit’ on the Start menu and open Registry Editor.
- Now copy and paste the following path on the address bar :
HKEY_LOCAL_MACHINE\Software\Intel
- Now right-click on ‘Intel’ from the left panel and hover the cursor on the ‘New’ option.
- From the sub-menu, select the ‘Key’ option and name it GMM.
- Open the GMM folder and right-click on the right pane of the Registry Editor window.
- Hover your cursor on the ‘New’ option.
- Now select the ‘DWORD (32-bit)Value’ option, and name it as DedicatedSegmentSize.
- Double-click on the ‘DedicatedSegmentSize’ key and select the ‘Decimal’ option from the Base section.
- Also, input a value anywhere between 0 and 512 and then click on the ‘OK’ button to save changes.
- Now restart your Windows desktop to make changes.
3. Install new RAM or Graphics card
Sometimes it’s better to upgrade your RAM and Graphics card. However, it ain’t feasible for every user to purchase a quality RAM or Graphics Card. You may try enabling XMP on your Windows desktop to boost up your RAM, but even then users may find lagging errors while playing high-end games. In such cases, installing an upgraded RAM or Graphics card becomes essential for a smooth experience.
That’s everything covered on how to increase dedicated VRAM on Windows 10 & 11. Also, check out our other guides, such as How to enable Controlled Folder Access on Windows 10 & 11 or How to fix the ACPI BIOS error on Windows.