Have you updated your system to Windows 11 and are just wondering how to take a screenshot? You can easily take screenshots of programs, applications, and games in many different ways on PCs and tablets with Windows 11. You can also save the screenshots on your computer or share them with another person if you would like. In this guide, you will find out the various method to take screenshots in Windows 11.
How to take a Screenshot on Windows 11
Windows 11 has been available for quite a few months now. It comes with many new features, revamped design, simplified menus, etc. There is also one of them which is a screen capture. There are many methods that exist on the operating system to take a photo of your screen, which we have summarized in this guide. Check out all the techniques to take screenshots on Windows 11 below.
Method 1: Taking Screenshot with PrtScn + Saving image to clipboard
- Press the PrtScn key on your keyboard.
- Immediately open Paint, Paint 3D, Office, or similar apps and then press CTRL + V keys to paste it in the same apps and then save it.
- This has always been the traditional way to take screenshots on Windows operating system.
Method 2: Taking Screenshot with PrtScn + Automatic image saving
- In this method, you need to press the Windows + PrtScn keys at the same time.
- Once you press the above keys, the screen will flash for a moment and the image will be saved in this location – \Users\username\Pictures\Screenshots.
Method 3: Taking Screenshot of foreground item + Save image to clipboard
- Press the PrtScn and ALT keys together at the same time. This method will let you to take a screenshot of the active application window or foreground app.
- After that, paste the image into Paint, Paint 3D Office, or similar types of apps by pressing CTRL + V and then save it.
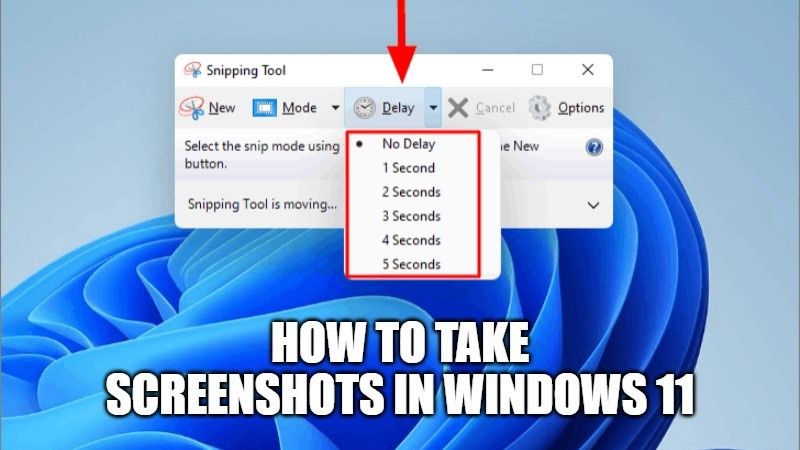
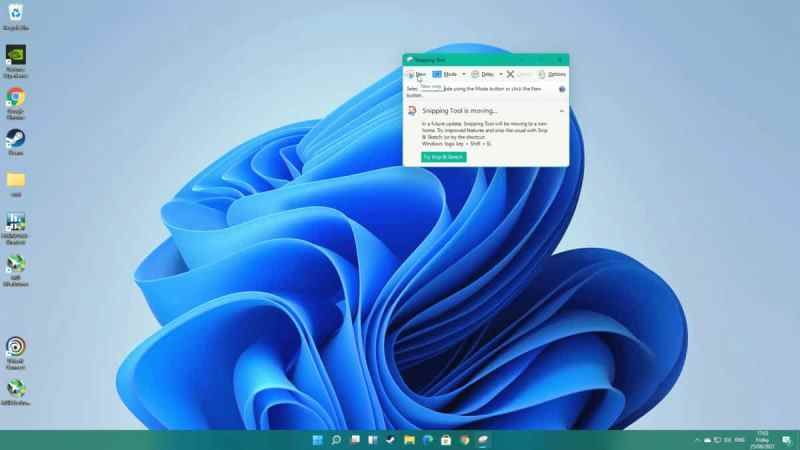
Method 4: Screenshot with the new Snipping Tool
To open the new Windows 11 Snipping Tool, just type the name Snipping Tool in Search bar and open it. The tool has been revamped with the new operating system and combines the old Snipping Tool and the universal Capture and Annotate app into one app.
You can also select what to capture: a free format, a rectangle, a window, or the entire screen. You can also select the delay before capturing the screenshot, being able to choose between 3, 5, or 10 seconds.
The Snipping Tool also has several interesting options for drawing and taking notes on the screenshot, automatically copying it to the clipboard, adding a colored border to it, and you can activate it by pressing the PRINT key. You can change the option in the Windows 11 Settings app by going to Accessibility > Keyboard > Use the Print Screen button to open Screen Capture.
Method 5: Screenshot with physical buttons (tablet only)
Microsoft Surface and other tablet PCs with Windows 11 can take screenshots simply by using a combination of physical keys: hold down the Start button and the Volume Down button (Vol-).
Method 6: Screenshot with Xbox Game Bar
You can also use the Xbox Game Bar tool to take screenshots, although it is much more convenient if you are already in a video game. Xbox Game Bar can be called up with the Win + G keyboard shortcut or by pressing the Xbox key on the controller; once open, make sure you have the Capture widget visible, then click on the camera icon. Alternatively, you can take a screenshot with Xbox Game Bar using the key combination Win + ALT + PrtScn keys together.
That is all you need to know about how to take screenshots in Windows 11. In the meantime, do not forget to check out our other guides on how to make Google Chrome the default browser in Windows 11, and where you can buy Windows 11 Ice Cream.