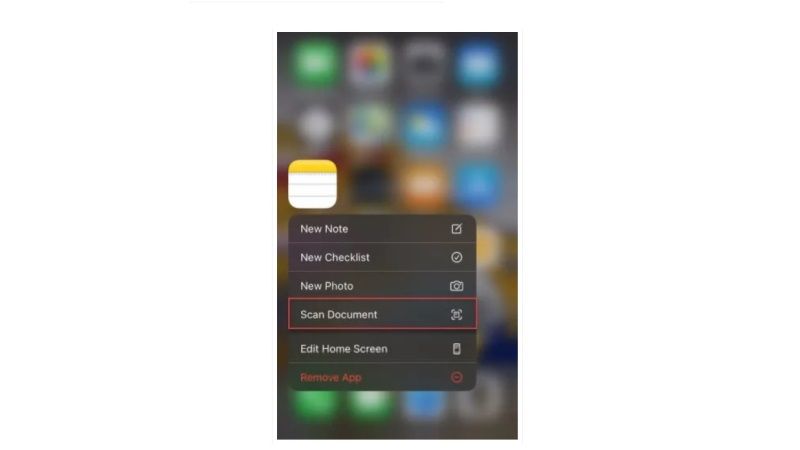
Have you known that your iPhone 13 or iPad comes with a hidden feature that allows you to scan a document? Well, you can find this option in an application native to the iOS operating system. If you want to scan a document with your iPhone, you do not need to install a third-party app as well. iOS 15 already has includes a “Scan documents” feature which is integrated into the Notes application that is preinstalled. In this guide, I will show you how you can scan documents on your iPhone 13.
How to Scan Documents on iPhone 13 with iOS 15

Gone are the days when you had to use a printer to scan any type of document with the help of a computer. Now, it is also possible to scan a document from an iPhone 13 or iPad using the Notes application, or an Apple device that must run iOS 11 or later.
There are also many mobile applications that you can use from the App Store like iScanner that offers to help you scan documents with your camera. However, what you need to know is that on iOS 15 there is also a feature built into the Notes apps, which lets you do this quickly. And if you are looking to scan your paper documents, such as invoices, receipts, or contracts, this document scanning feature offered by Apple will save your time as well.
Follow the steps given below to scan a document on your iPhone 13:
- First of all, open the Notes app on your iPhone 13.
- Add a note.
- After that, you need to click on the camera icon and choose “Scan Document.”
- Crop the document in question after triggering the camera.
- Click on Save.
- Go to the scanned document in a saved note.
- Sign, share, or save your scanned document as a PDF.
That is everything you need to know about how to scan documents on iPhone 13 running iOS 15. If you are interested in getting more information on iPhone 13, check out our other guides on how to draw on a photo on iPhone 13, and how to recover deleted text messages on iPhone 13
