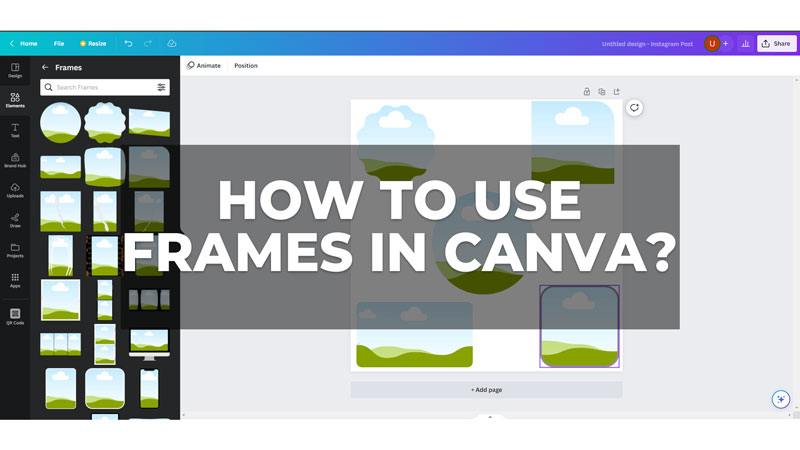
Frames are a versatile and creative way to enhance your photos and videos in Canva. You can use frames to crop your media into different shapes, add borders, or create a collage effect. So in this guide, we will show you how to use frames in Canva on both smartphone and desktop devices.
How to Add Frames in Canva?
To use frames in Canva on your Android smartphone or Windows desktop, follow these steps:
On Mobile

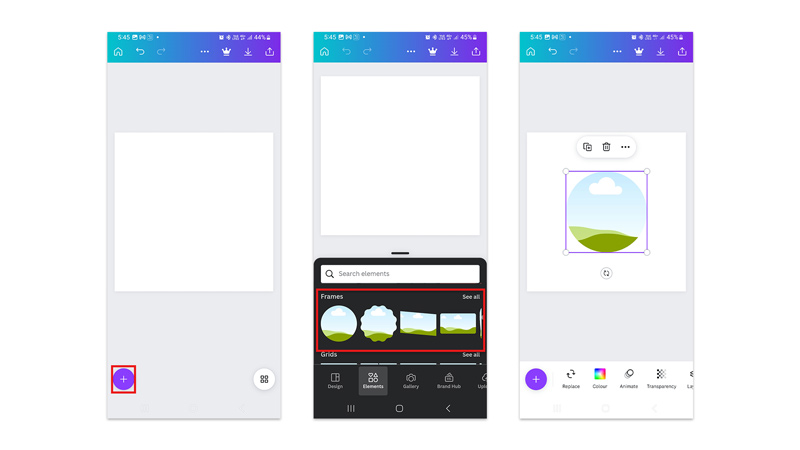
- Open the Canva app and tap the ‘+’ button and create a new design.
- Then again tap the ‘+’ button from the bottom left corner of the screen.
- Go to the Elements tab and find the Frames section. You can also type “frames” in the search bar to see all the available options.
- Select the desired frame on your Canva app by tapping on it and, position or resize the frame as you like it.
- To add an image or video to the frame, go to the ‘Photos’ or ‘Videos’ tab and select one from the library or upload your own. Drag the media over the frame until it snaps into place.
On Desktop

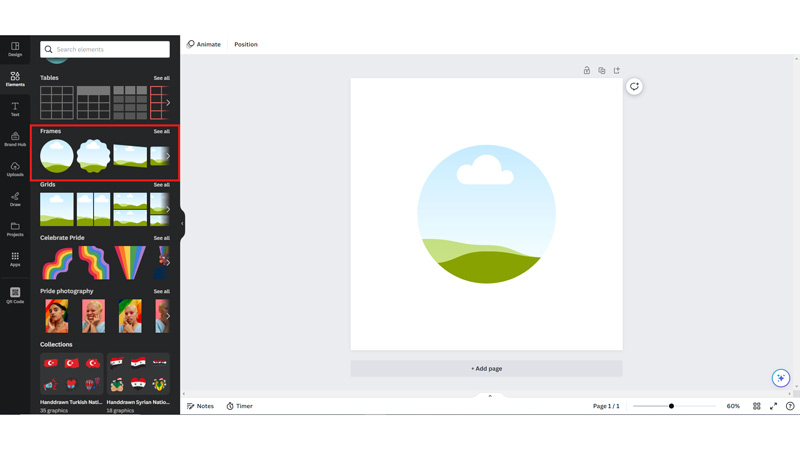
- Open the Canva website on your desktop browser and click the ‘Create a Design’ button to start with your new design.
- Then go to the ‘Elements’ tab from the left sidebar and scroll down to the ‘Frames’ section.
- Select the desired frame type and it will be added to your design.
- You can add any image or video to the frame by dragging and dropping the media directly into the frame on Canva.
- To adjust the media within the frame, double-click on it and drag it around. Also, you use the crop tool to zoom in or out.
- Moreover, to change the color of the frame or its border, click on the frame, and select a color from the toolbar above. Some frames have multiple color options that you can customize.
- Also, you can use the grid tool to arrange your frames neatly.
That’s how you can add frames on Canva. Also, check out our other guides, such as How to add a superscript or subscript on Canva or How to create a QR code on Canva.
