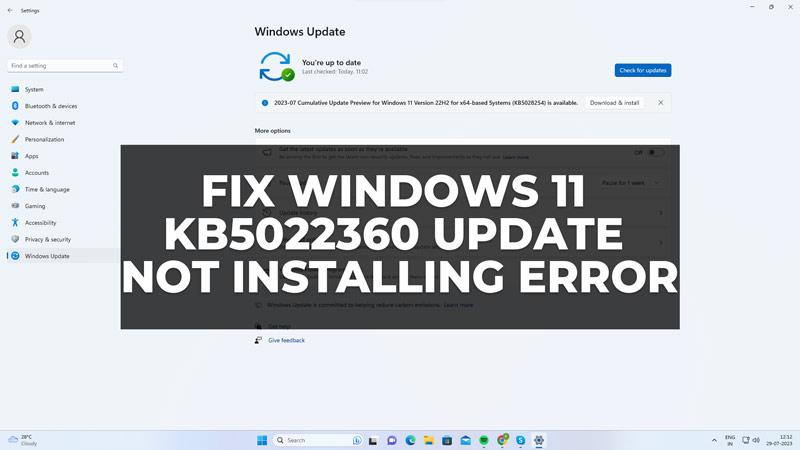
Updating your Windows 11 desktop fixes all the minor or major bugs, also, it brings various new features to your PC. However, some users may encounter problems when trying to install the latest updates, such as KB5022360. This update is supposed to fix some security issues and bugs, but some users have reported that it fails to install or gets stuck at a certain percentage. Fortunately, there are some possible solutions to fix the KB5022360 update not installing on Windows 11 error.
Steps to Fix Windows 11 KB5022360 Update Not Installing Error
You can fix the Windows 11 KB5022360 update not installing error by following these workarounds:
1. Run the Windows Update Troubleshooter
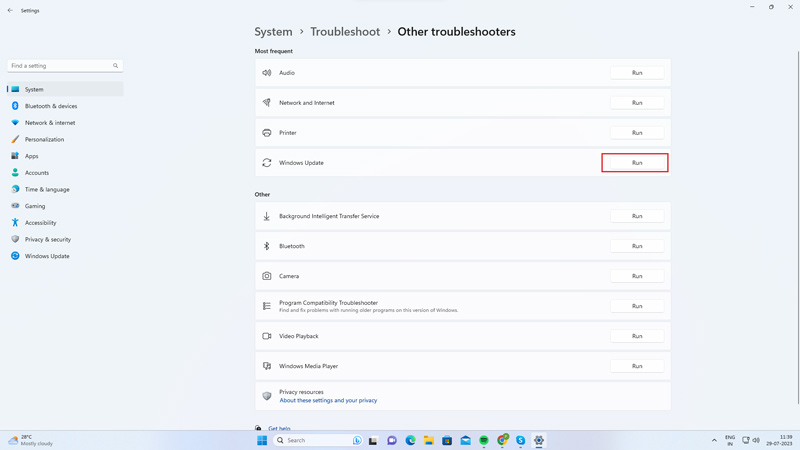
This is a built-in tool that can help you diagnose and resolve common issues with Windows Update to fix the KB5022360 update not installing error. You can run this Windows Update Troubleshooter by following these steps:
- Firstly, go to Settings > System > Troubleshoot.
- Then select Other troubleshooters > Windows Update > Run.
- Follow the on-screen instructions and see if the Windows Update troubleshooter can fix the issue.
2. Reset Windows Update Components
If the previous method didn’t work, you may need to reset some components of Windows Update that may be corrupted or damaged. To do this, you will need to run some commands in an elevated Command Prompt. To open an elevated Command Prompt, go to Start > Search > type cmd > right-click on Command Prompt > Run as administrator. Then, type the following commands one by one and press the Enter key on your keyboard, after each one:
net stop wuauserv
net stop cryptSvc
net stop bits
net stop msiserver
ren C:\Windows\SoftwareDistribution SoftwareDistribution.old
ren C:\Windows\System32\catroot2 Catroot2.old
net start wuauserv
net start cryptSvc
net start bits
net start msiserver
After running these commands, close the Command Prompt and try to install the update again.
3. Restart your Computer
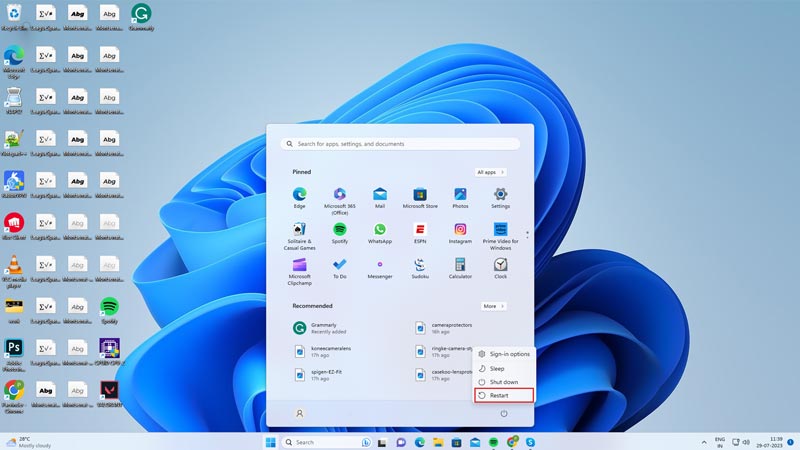
Sometimes, a simple restart can clear some temporary files and cache that may interfere with the update process. To restart your computer, go to Start > Power > Restart. After your computer restarts, try to install the update again and see if it works.
4. Download and Install the Update Manually

If none of the above methods work, you can try to download and install the update manually from the Microsoft Update Catalog website, and here’s how you can do this:
- Firstly, visit the Microsoft Update webpage from this link and find the update that matches your system architecture.
- Click on Download and then click on the link that appears.
- Save the file to your computer and then run it as an administrator.
- Follow the instructions and wait for the installation to complete.
These are some of the possible solutions that you can try to fix the KB5022360 update not installing in Windows 11 issue. Also, check out our other guides, such as How to Fix the Windows Update Error Code 80072EE2 or How to Fix Windows Update error code 0xc00000374.