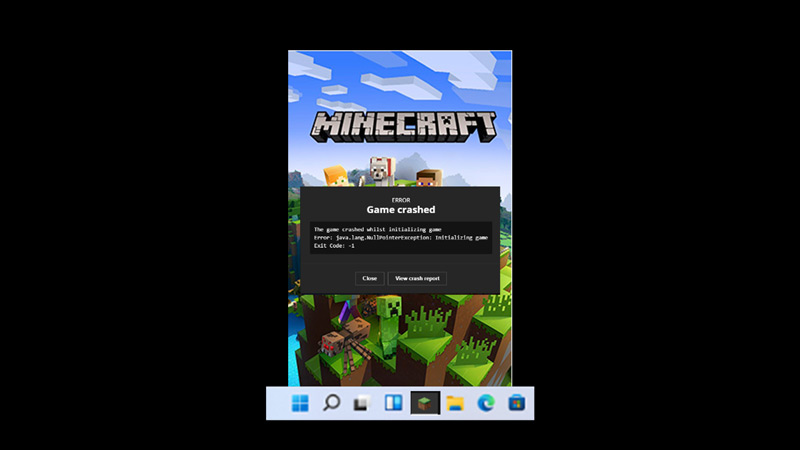
Errors can be annoying, especially while starting up a game like Minecraft. Some users have complained that their game crashes with an ‘Exit Code 1’ message when they launch Minecraft. This happens when you install a new mod or due to a change in the Java configuration. There are a few fixes for the Minecraft ‘Exit Code: 1’ on your Windows desktop, and this guide will help you with the same.
Fix: Minecraft ‘Exit Code 1’ on Windows (2023)

When Java configuration is modified, you can witness ‘Exit Code: 1’ while launching Minecraft on a Windows desktop. You may have tried restarting Minecraft, which temporarily fixes the issue. But sometimes, even restarting the game doesn’t help. Hence, to permanently fix the issue, here are some steps you can try:
1. Change Java Executable path to fix the ‘Exit Code 1’ on Minecraft
- First, open the Minecraft Launcher on your Windows desktop.
- Now toggle on the ‘Java Executable’ switch by clicking on it.
- If the Java executable path filename is different from ‘Java.exe’, rename it to fix the issue.
- If the modifying filename doesn’t fix the issue, you may have to delete and reinstall the Java app from the official website.
2. Disable all Minecraft Mods
Sometimes the Minecraft mods can trigger the ‘Exit Code: 1’ while launching the game. Hence, you will need to find and disable the mod that causes the issue. You can do this by following these steps:
- Open the ‘Run’ dialog box by pressing the ‘Windows’ + ‘I’ keys on your keyboard and type the following command in the text box and click the ‘Ok’ button:
%AppData%
- The ‘Roaming’ folder will open.
- Here, find the ‘.minecraft’ folder and open it by clicking on it.
- Now open the ‘logs’ folder.
- Search and open the ‘latest.txt’ file from the ‘logs’ folder.
- Find the mods that are causing the error and disable them.
3. Reinstall Minecraft
Sometimes the ‘Exit Code: 1’ can be so annoying that even after following the above methods, the error can continue. In such cases, you will need to uninstall and reinstall the Minecraft application. Hence, to uninstall Minecraft, here are the steps you can follow:
- Open Control Panel from the ‘Start’ menu.
- Click on the ‘Programs’ tab on the Control Panel.
- Now click on the ‘Programs and Features’ tab from the ‘Programs’ window.
- Search for the ‘Minecraft’ application from the list and right-click on it to open the menu.
- Click on the ‘Uninstall’ option from the pop-up menu.
- Now install Minecraft from the Microsoft store on your Windows desktop.
That’s everything covered on how to fix Minecraft ‘Exit Code 1’ on a Windows desktop. Also, check out our other guides, such as How to fix Minecraft red screen on Windows 10 or How to fix the Minecraft ‘RemoteConnect’ error.
