While updating your Windows 11 system, you might encounter the install error 0x80070103. This error usually occurs when Windows tries to install a driver that is already installed or incompatible with your system. It is not a serious error, and it does not affect your system performance, but it can prevent you from installing important updates. However, it can be annoying and to fix the error code 0x80070103 on your Windows 11 desktop, this guide will help you.
How to fix Error Code 0x80070103 on Windows 11
Error Code 0x80070103 on Windows 11 is a minor glitch that appears when you try to install a new Update, you can fix this issue by following these methods:
1. Pause and Resume the Update
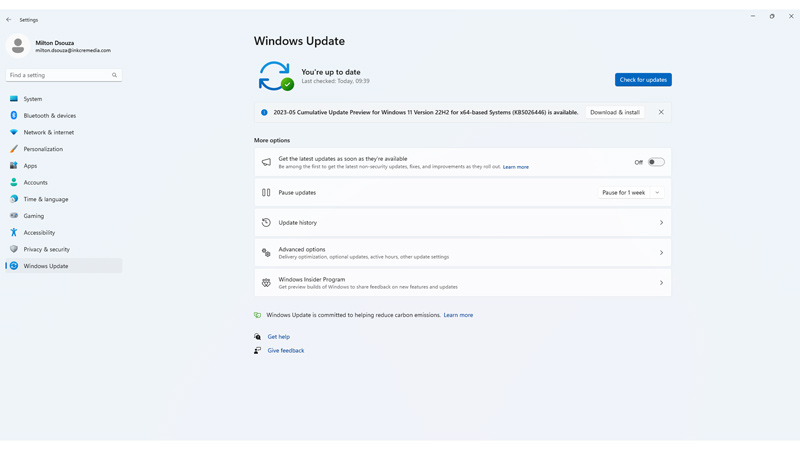
Sometimes, a simple pause and resume can fix the install error 0x80070103 on Windows 11. To do this, follow these steps:
- Firstly, open the Settings app by pressing the ‘Windows’ + ‘I’ keys on the keyboard.
- Then select the ‘Windows Update’ tab, and click the ‘Retry’ button on the update that shows the error.
- Once the update starts downloading, select the ‘Pause updates for 1 day’ option.
- After a few seconds, click the ‘Resume updates’ button.
- This will restart the update process and hopefully resolve the error.
2. Run Update Troubleshooter
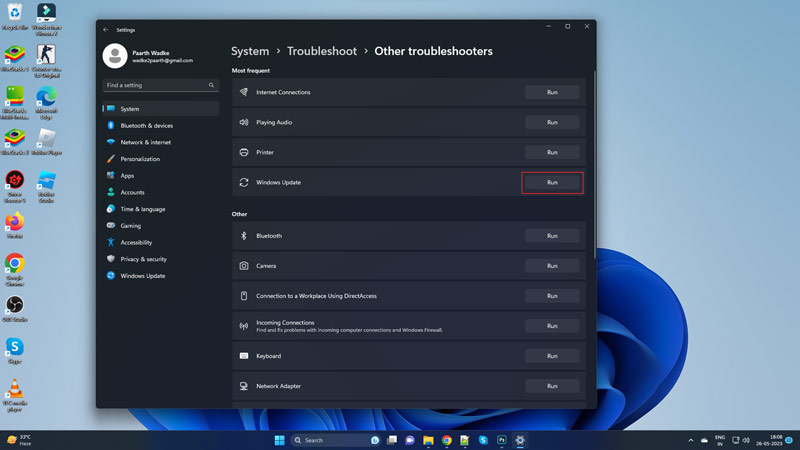
- Firstly, open the Settings app and click the System tab from the left panel of the screen.
- Then select Troubleshoot > Other troubleshooters.
- Finally, click the ‘Run’ button next to Windows Update and wait for the troubleshooter to scan and fix any issues.
- Restart your system and check if the error code 0x80070103 still appears while updating.
3. Update Drivers Manually
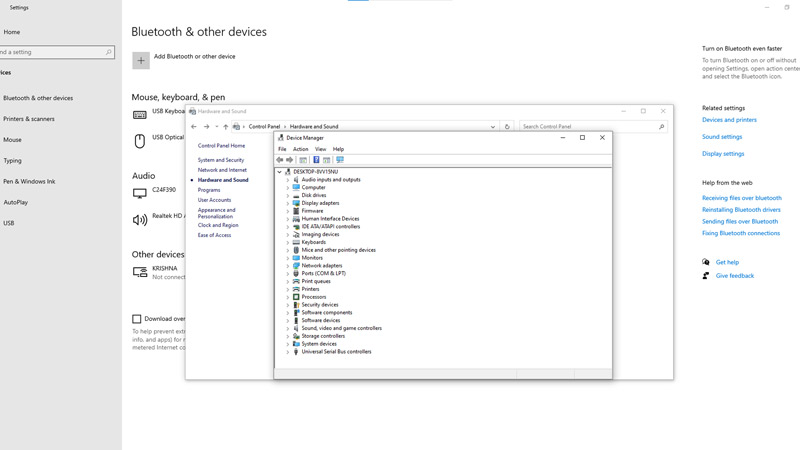
If the install error 0x80070103 on Windows 11 is caused by a driver update, you can try to update the driver manually from the device manager or from the manufacturer’s website. To do this, follow these steps:
- Firstly, go to Settings > Devices and click the ‘Device Manager’ hyperlink
- Find the device that corresponds to the driver update and right-click on it.
- Select the ‘Update Driver’ option from the menu and choose the ‘Search automatically for drivers’ option or the ‘Browse my Computer for drivers’ option if you have pre-installed any driver updated from the manufacturer’s website.
- Finally, follow the on-screen instructions to install the driver and check if the error is gone.
- Alternatively, you can visit the manufacturer’s website and download the latest driver for your device. Make sure you choose the correct driver for your system model and version.
4. Clear the Windows Update Cache
The Windows Update cache is a temporary folder that stores downloaded update files. Sometimes, these files can get corrupted or damaged and cause errors like 0x80070103. Hence, to clear these Windows Update cache files, follow these steps:
- Search for Command Prompt in the Start menu and open it as administrator.
- Then type the following commands and press the ‘Enter’ key on your keyboard after each one:
net stop wuauserv
net stop cryptsvc
ren C:\Windows\SoftwareDistribution SoftwareDistribution.old
net start wuauserv
net start cryptsvc
- Finally, restart your PC and check if the error is gone.
That’s everything covered on how to fix install error 0x80070103 on Windows 11. Also, check out our other guides, such as How to fix the 0x00000bc4 printer error on Windows 11 or How to fix Windows 11 error code 0x8007007f.