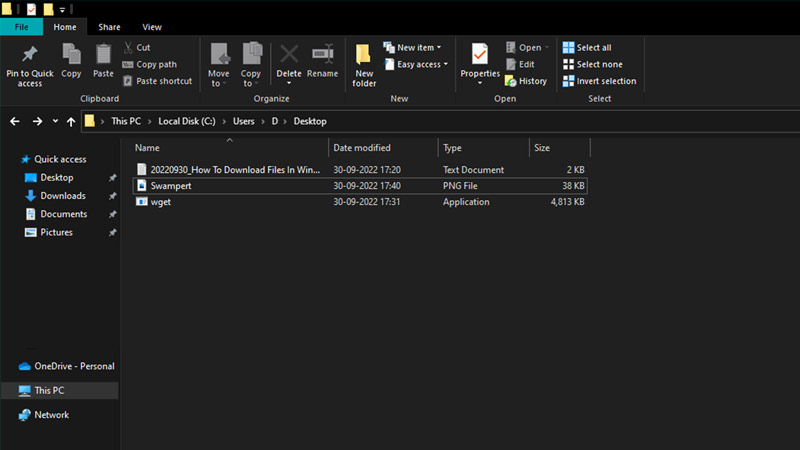
Usually, when you want to Download Files from the Internet, especially on Windows 10, you will have to click on a Download Link or Save the file and then navigate it through File Explorer. This can be accompanied by multiple unnecessary steps that can be time-consuming. But there is a way of doing this without the added steps. This involves using WGet Command. In this guide, I will show you how to Download Files using the WGet Command in Windows 10.
How to Download Files using the WGet Command in Windows 10

Wget is a computer program that retrieves Content from Web Servers. It supports downloading Content from HTTP, HTTPS, and FTP. The beauty of WGet is that it can download Online Web Pages into offline viewing of local HTML, and support proxies. To get & the WGet Command in Windows 10 & download files, you will have to perform the following steps:
- Download it from EternallyBored or the Link Here.
- Click on the latest version and save it in a Folder you like.
- Now copy the Folder address of the Folder you saved WGet in.
- After that, open up CMD by searching it in the Start Menu and Run it as Administrator.
- In CMD, type cd [Folder address of WGet].
- After that, type the WGet Command & the URL of the PDF, Image, Web Page, etc. that you want to Download on your Windows 10 PC.
- Hit enter that the Content of that link will get downloaded to the Folder where WGet is in.
This is how you can download files from WGet in Windows. Be mindful as wget is free software that can retrieve Content from HTTP, HTTPS, and FTP, the most widely used Internet Protocols. Some Antiviruses will treat as a Threat and won’t allow most of their libraries to run. As such, you may have to disable your Antivirus while using WGet or allow it to have permissions on your PC.
This was all about how to Download Files using the WGet Command in Windows 10. Hopefully, this guide has helped you. You can also check out our other guides like How To Fix Blurry Screen Or Display On Windows 11 PC.
