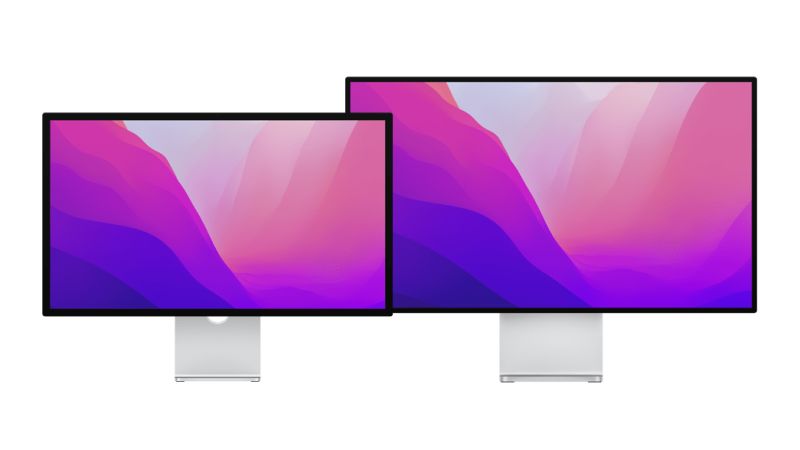
Is the screen of your Mac no longer working? Do not worry, as it is possible to connect an external monitor, or even several depending on the model of your device. After the launch of the Catalina operating system, it is also possible to use an iPad as a second screen, a feature that Apple has enhanced with the latest operating system of Mac. In this guide, you will learn how to connect an external monitor to macOS Ventura.
macOS Ventura: How to Connect External Monitor

For the most recent Macs with an M1 chip, it is possible to connect several screens at once for some. Check the below Macs as an example:
- Mac Studio M1 Ultra, Thunderbolt 4 (USB-C) and HDMI: up to five external displays
- MacBook Pro M1 Max, Thunderbolt 4 (USB-C) and HDMI: up to four external displays
- Mac Studio M1 Max, Thunderbolt 4 (USB-C) and HDMI: up to five external displays
- Mac M1 Pro, Thunderbolt 4 (USB-C) and HDMI: up to two external displays
- Mac M1, Thunderbolt/USB 4: an external display
- Mac mini M1, Thunderbolt/USB 4: an external display
- MacBook Air M1, Thunderbolt/USB 4: an external screen
- MacBook Pro M1, Thunderbolt/USB 4: an external screen
- Mac mini, HDMI: an external display
Identify the Ports on your External Display
Before finding the most appropriate adapter, you must identify the connectors of your second screen. Usually, ports on Apple computers are female, so your cable will need to have male outputs. However, be sure to check it out. Then, here are the different ports to determine:
- HDMI (High Definition Multimedia Interface): It is compatible with 8 audio channels, and it is the most common on televisions. Its standard (HDMI 2.1) has a bandwidth of 48 Gbits/s.
- VGA (15 pins): It can spread over 3 rows, and it allows you to watch HD videos with an analog audio signal.
- DVI (24 pins): It offers much better display quality than VGA, with more nuanced colors. Depending on whether it is DVI-A, DVI-D or DVI-I, the signals transmitted and the number of pins will not be the same.
- Thunderbolt 4: It requires PCIe bandwidth to be doubled to 32Gbps.
- USB4: It is based on the Thunderbolt 3 protocol which supports a throughput of up to 40 Gbps. It looks exactly the same as USB-C, USB 3.2, and Thunderbolt 3 and 4.
- Mini Display Port: Connects a Mac with a Mini DisplayPort, Thunderbolt, or Thunderbolt 2 port to a display using a DVI or VGA cable.
Find below the different adapters that you can use:
- USB Type-C to HDMI, for a Mac Thunderbotl 3 to an HDMI display.
- HDMI to HDMI, for an HDMI display to your Mac
- USB-C to VGA, for a VGA display or projector. This is an analog connection that does not support HDCP (High-bandwidth Digital Content Protection) content.
- Thunderbolt 3 (USB-C) to Thunderbolt 2, for displays with a Thunderbolt port.
- Mini DisplayPort to VGA for VGA displays, Macs with a Mini Display Port or Thunderbolt.
- Mini DisplayPort to DVI for DVI displays, a Mac with Mini Display, or Thunderbolt ports. It is intended for displays with resolutions of at least 1920 x 1200.
How to Connect a Second Display to your macOS Ventura
- Connect your monitor to your Mac.
- Open System Preferences.
- Go to Monitors.
- Click Layout.
- Leave the Mirroring box unchecked unless you want to see the same content as on your computer.
- Slide the monitors into the desired position.
- A white menu bar appears, indicating the main screen.
- To mirror the video on both screens, follow points 1 to 4 given above, then check the Video Mirroring box.
- If necessary, you can also select the Show mirroring options option from the menu bar.
- From the status that appears, enable or disable the second screen.
That is everything you need to know about how to connect an external monitor to macOS Ventura. In the meantime, do not forget to check out our other guides on How To Run MacOS Ventura On VirtualBox.
