
The major objective of caching in Windows systems is to store the information most frequently used by software, web browsers, and applications on your computer in order to speed up performance and improve the operation of the operating system and applications. Although caching is extremely useful in order to improve system performance, you still need to clear Windows 10 cache from time to time. In this tutorial, we will see how to proceed to delete the different caches of Windows 10 without going through cache cleaning software.
Windows 10: How to Clear Cache (2023)
Over time, some cache files in Windows 10 may have become obsolete or corrupted and this will have the effect of making the system unstable, moreover too much cache data storage in an internet browser will make browsing slower and may cause access or display problems on certain websites. Check out the various methods to clear the cache on your Windows 10 below.
Clear cache memory in Windows 10
- To clear the Prefetch cache in Windows 10, press the Windows + R keys together to open the Run dialog box.
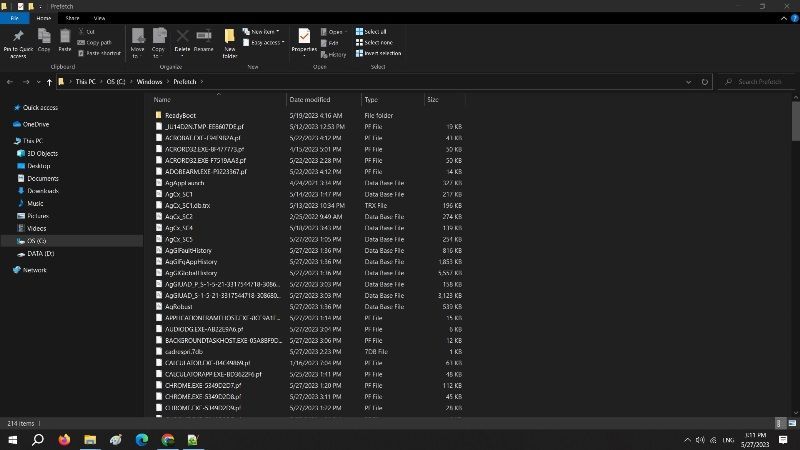
- After that type “C:\Windows\Prefetch” without quotes and press the Enter key or click the OK button.
- Then delete all files with a “.pf” extension.
- You can then close File Explorer.
Flush DNS resolver cache
- To flush the DNS cache in Windows 10, open a Command Prompt as an administrator by typing CMD in the Search box and clicking on “Run as administrator”.
- Then type “ipconfig /flushdns” without quotes and press the Enter key.
- You can then close the command prompt.
- For information, if you want to consult the DNS cache under Windows, use the following command: ipconfig /displaydns.
Delete temporary files from Windows 10
- To delete Windows 10 temporary files, type “disk cleanup” in Windows 10 Search bar and press Enter key or click Open.
- If you have multiple disks on your computer, the “Disk Cleanup Drive Selection” window will ask you which disk you want to clean up, select the disk and click “OK”.
- Then click on the “Clean up system files” button, after the analysis of the disk cleanup utility, select the items you want to delete, click on the “OK” button, and on “Delete files” to start the deletion selected Windows temporary files.
That is all you need to know about how to clear the cache in Windows 10. If you are searching for more Windows 10 Troubleshooting Guides, check out similar types of articles here: How to Start Windows 10/11 in Safe Mode, and How to convert DMG to ISO in Windows 10/11.