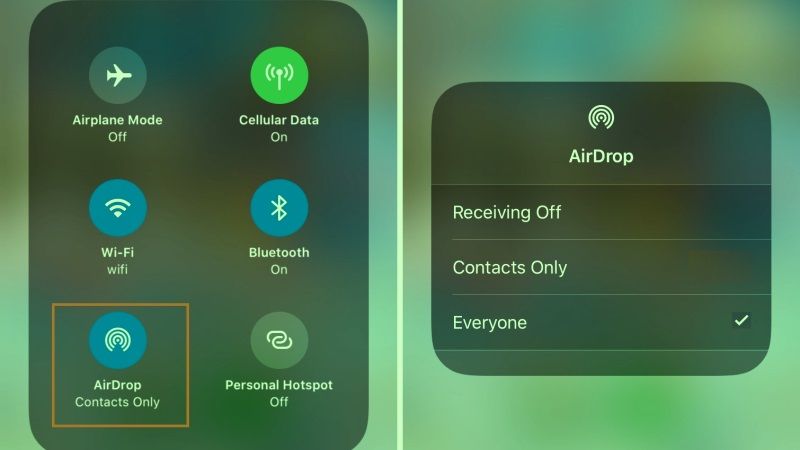
AirDrop is the best feature of Apple devices to easily and wirelessly transfer files, photos, videos, etc; between iPhone, iPad, and macOS. Once AirDrop is set up and activated on your Mac and iOS device, transferring files between platforms is very simple. So let’s see how to transfer files between an iOS device and a Mac. In this guide, we will tell you in detail how to AirDrop from your iPhone to your Mac computer.
How to AirDrop from iPhone to Mac (2023)

First of all, in order to AirDrop and transfer files, documents, videos, or photos from your iPhone to your Mac computer, you need to check whether the AirDrop feature is enabled on your iPhone as well as on your Mac first, here’s how it is done:
Activate AirDrop on iPhone
- First, open the Settings app on your iPhone.
- Then tap on the General option.
- Next, press the AirDrop option.
Activate AirDrop on Mac
- On your Mac computer, open the Finder window.
- Then click on Go > AirDrop and you can also configure its setting at the bottom.
After activating AirDrop on both iPhone and Mac, here’s how to AirDrop from iPhone to macOS:
- On your iPhone, search for the file, document, video, or photo you want to send to your Mac.
- After that find and press the Share button at the bottom tab, for example, if you want to share a Photo.
- In the middle of the Photo, you will get an icon to share files on Mac, just tap on the Mac icon to share the pic.
- Finally, once the photo is received on your Mac computer, you will get a prompt with “Sent” on your iPhone, just search the photo in the Downloads folder on your macOS.
That is everything you need to know about how to AirDrop from iPhone to Mac. If you are searching for more Mac Guides, check out our other articles only on our website TechNClub.com: How to Get Adobe Illustrator for Mac, and How to Fix Firefox Not Loading Websites on Mac Ventura.
