
If you are looking for a way to spice up your designs in Photoshop, you might want to try adding some new fonts. Fonts can make a big difference in the look and feel of your projects, and they are easy to install and use. Hence, in this guide, we will show you how to add fonts to Photoshop for both Mac and Windows users.
Photoshop: How to Add Fonts
OpenType fonts (OTF) and TrueType fonts (TTF) are the two main types of fonts that are compatible with Photoshop. You can get the fonts in this format from various open-source platforms or from the Adobe Fonts which comes along with a Creative Cloud subscription. To add these fonts to your Adobe Photoshop on your Mac or Windows desktop, follow these workarounds:
1. From Adobe Fonts
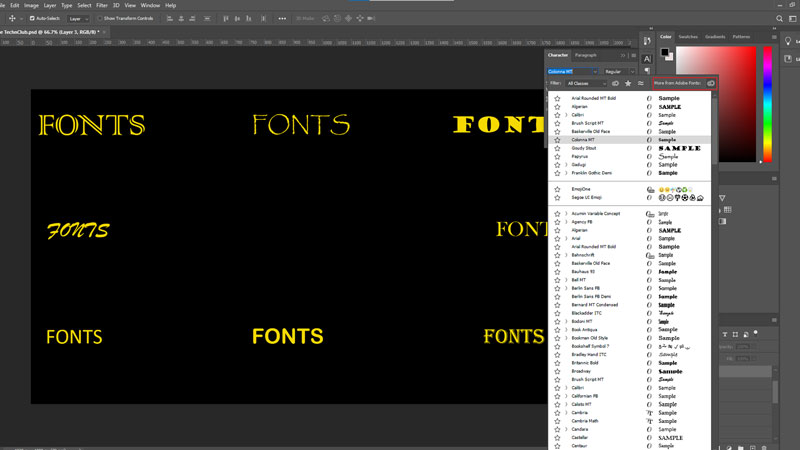
- Firstly, click the ‘Window’ tab from the top toolbar and select the ‘Character’ option from the menu.
- Then click the ‘More from Adobe Fonts’ button in the top right corner of the Character screen. This will open a browser window where you can explore and activate fonts.
- You can filter font families by category, style, language, and more.
- When you find a font you like, click on the switch next to it to activate it.
- The activated fonts will sync to your Creative Cloud account and be available in Photoshop and other Adobe software.
2. From Other Sources
If you want to add fonts from other sources, you can do this by following these steps:
- Firstly, download the font files from the source in OTF or TTF format.
- If they are in a zip file, extract them first.
- Then, if you are a Mac user, double-click on the font file and click the ‘Install Font’ button.
- For Windows users, right-click on the font file and select the ‘Install’ button.
- Finally, the font will be installed on your system and be available in Photoshop and other applications that use fonts.
Those were the few ways to add new fonts on your Adobe Photoshop app on your Mac or Windows desktop. Also, check out our other guides, such as How to change the default GPU for Photoshop to a High-Performance GPU or How to get a 4K resolution image in Photoshop?