")
If you are new to Mac and wondering how to take a screenshot using Print Screen on Mac, then it should be noted that there is no such Print Screen button on Mac which is mostly present on most keywords designed for Windows. However, there are some keyboard shortcuts that you can use to take screenshots on Mac. In this guide, we will show you the different methods to capture screens on Mac without the Print Screen button.
Steps to Capture Screen using Print Screen on Mac in 2023
Taking a screen capture on Mac is very simple. In this guide, we will show you various methods for taking a screenshot on Mac: some methods are dedicated to using shortcuts to capture and save an image that includes the entire screen while some others always a keyboard shortcut that is limited to pasting the captured screenshot into your clipboard.
To capture and save a screenshot of the entire screen:
- Keep these three keys pressed: Shift + CMD + 3
- Wait for the screenshot to be saved on the desktop in PNG format with the name “Screenshot[date][time].png.”
To capture and save a portion of the screen:
- Keep these three keys pressed: Shift + CMD + 4
- Drag the crosshair to establish the start of the selection and, while holding down the mouse, move the cursor to outline the portion of the screen to be captured. Then release the mouse button to take the screenshot.
- Wait for the screenshot to be saved on the desktop in PNG format with the name “Screenshot[date][time].png.”
To take a screenshot on Mac to a window or menu and save it:
- Press and hold these four keys: Shift + CMD + 4 + Space Bar
- The pointer will turn into a camera icon, then click on the window or menu to capture.
- Wait, also in this case, for the screenshot to be saved.
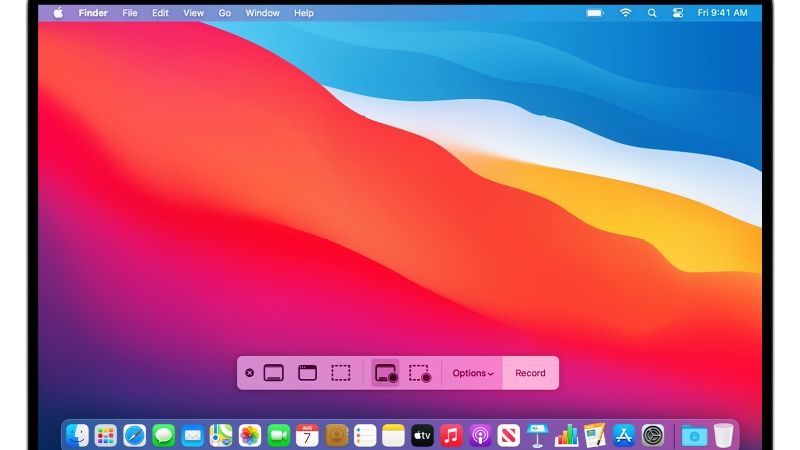
In all these three cases the screenshots are automatically saved on the desktop. You can change the default save location by opening the “Screenshot” application and going to the “Options” menu.
That is all you need to know about how to do a print screen to capture screen on Mac. While you are here, you might be also interested to know the Best Free VPN for Mac to Visit Blocked Websites and How to Install or Get Microsoft Publisher On Mac 12 (Monterey).