
If you are having any problems after you update your Windows 11 build to the latest version, it’s a good idea to remove the update to provide better usage comfort, because sometimes Microsoft itself often recommends users to delete the last update that the user installed when a problem occurs in the system. In this article, I will explain how to uninstall updates in Windows 11 operating system.
How to Uninstall Updates on Windows 11
If you have installed the latest operating system of Windows 11, and you are looking for a way to remove or uninstall updates, you can follow the following steps given below.
Method 1: Removing Updates on Windows 11 via Settings
- First of all, you need to open Settings apps by searching them in the Search bar.
- After that click on Windows Updates and then click on Update History.
- Now you have to click on the Uninstall Updates option.
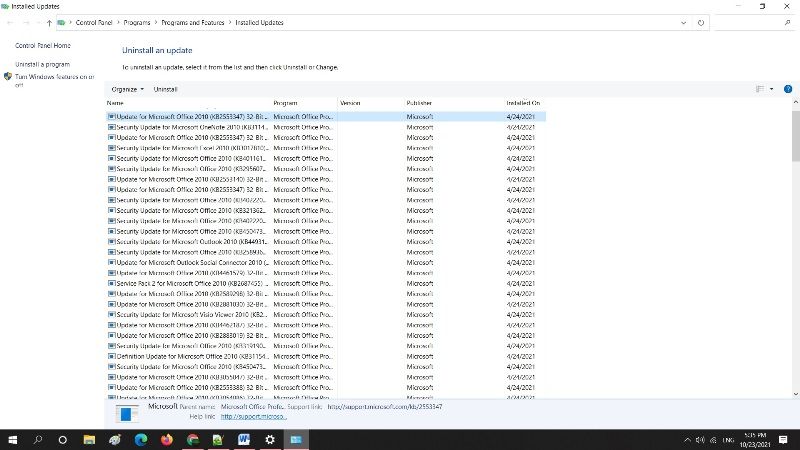
- After that, you will be taken to the classic Control Panel page, namely Control Panel > Programs > Programs and Features > Installed Updates.
- Now here, you just have to click the update to be removed, and then click Uninstall.
Well, it’s exactly like the picture shown above, but you need to note that not all updates can be removed, because some of them are needed by the Windows 11 system, so you might not find the Uninstall option if it is needed.
Method 2: Uninstalling Updates on Windows 11 by using Windows Update Troubleshooter
- First, you need to press the Windows+i key together on your keyboard.
- After that, click on Troubleshoot option.
- In the next window, tap on “Other troubleshooters.”
- Finally, click on the “run” option which will be located next to Windows Update.
- This way, the inbuilt Windows troubleshooter in Windows 11 will look for any problems on your PC caused by Windows Updates and will automatically try to resolve the issues.
That is all you need to know about how to remove Updates on Windows 11. While you are here, do check out our other guides on how to turn on or turn off Fast Startup on Windows 11, or uninstalling Microsoft Edge from Windows 11 guide, etc.