Google Photos have been updated and there is this new feature called Locked Folder that you can now access on your iOS and Web. Although this feature was previously available for Android users, now you can access it on your iOS devices and Web. Thus, if you are unaware of how to get access, here is the guide for you. Read this guide to access this feature and keep your Photos private.
Access Google Photos Locked Folder In iOS And Web
Accessing the Google Photos Locked Folder is easy on your iOS and Web. Also, this feature allows you to take a backup of your Private photos so that you can access them from any device. We have these simple steps explained below that you can follow to get this on your iOS and Web.
To Access The Folder In iOS
Here are the steps you need to follow to access the folder on your iOS devices:
- First, on your device, go to Google Photos.
- Now, from the options at the bottom, click on Library.
- Then, click on the Utilities option in the app.
- Now, click on the Set up Locked Folder option.
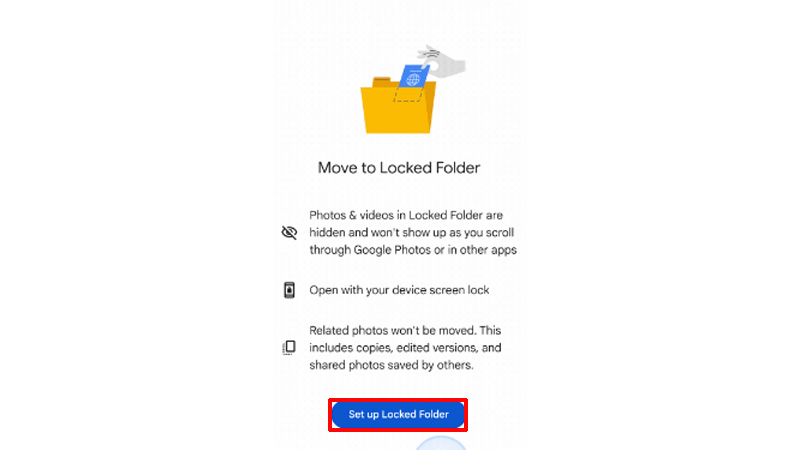
- Then, click on Set up on the screen. The app will ask for your Fingerprint or Passcode.
- Now, enter your Passcode to the Google Photos.
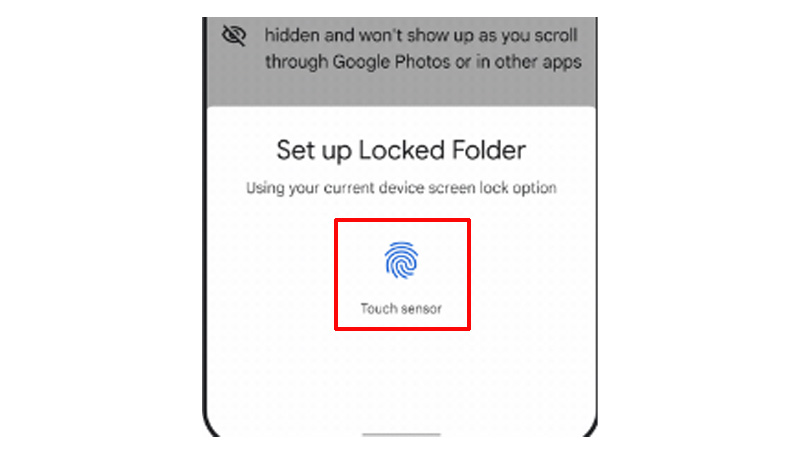
- Finally, you have accessed the Locked Folder on your iOS, and now, you can move the items here that you want to keep safe.
After you have set up the Locked Folder on your iOS, you can access it anytime. To access the Locked Folder later, go to Google Photos>click on Library>click on Utilities>scroll down and click on Locked Folder>enter your Passcode and Done. You have now access to your Google Photos Locked Folder.
To Access The Folder On The Web
Follow the steps given below to access the Google Photos Locked Folder on your Web:
- On your Web Browser where your Google Account is logged in, click on the Google Apps Icon at the top-right corner.
- Now, from the apps, click on Photos.
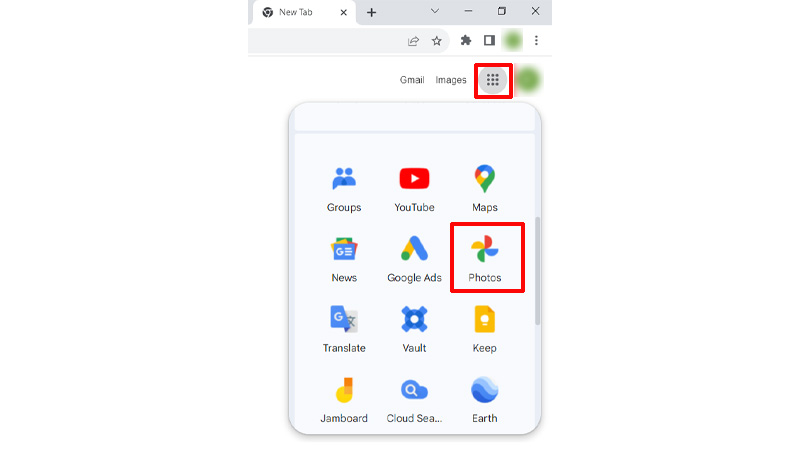
- Then, from the options on the left, click on the Utilities option.
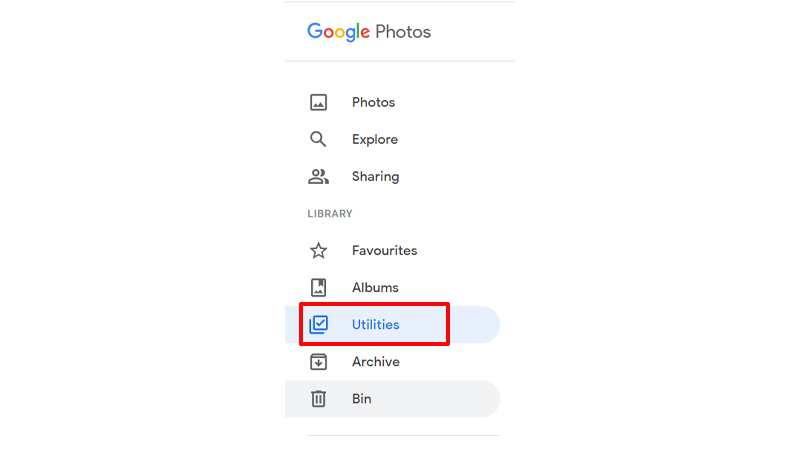
- On the screen, click on Set up Locked Folder.
- Now, click on Set Up. The folder will ask you to set up a passcode for your Locked Folder.
- Then, set up the Passcode for the folder.
- Finally, your Locked Folder has been set up for the Google Photos.
Thus, to access the folder later, click on Google Apps on your browser>go to Photos>click on Utilities>click on Locked Folder>enter the Passcode that you have set>Done. These are the simple steps by which you can have access to your Locked Folder from Google Photos on iOS and the Web. Also, this folder will help you keep your important files safe from others. Now to know more about Google Photos, refer to these guides – Use Magic Editor In Google Photos or Backup iCloud Shared Library To Google Photos iOS App.
