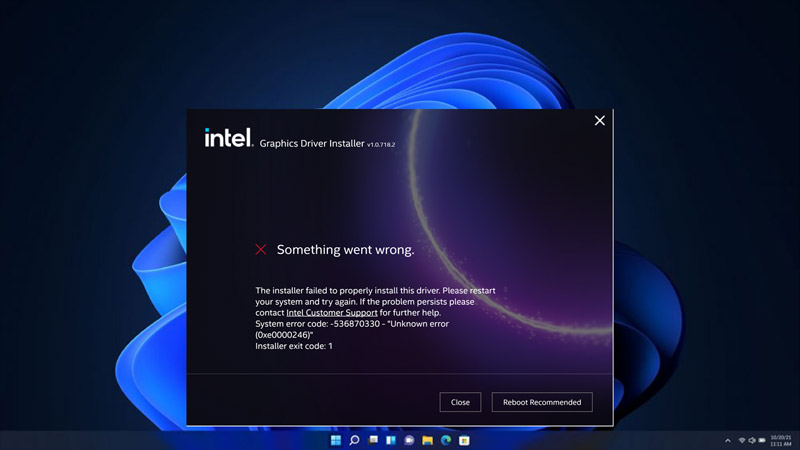
When you try to update your Intel graphics driver, you might encounter “The installer failed to properly install this driver, Please restart your system and try again” error message. This error can be caused by various factors, such as incompatible or corrupted driver files, OEM customizations, or third-party applications. Hence, to fix this issue and update your Intel graphics driver, this guide will help you.
Fix: “The installer failed to properly install this driver” Error (2023)

You can fix “The installer failed to properly install this driver” error by following these workarounds:
1. Clear Storage Space using Disk Cleanup
Sometimes, the driver installation can fail due to insufficient disk space or temporary files and junk files that interfere with the installation process. To free up some storage space and delete unnecessary files, you can use the built-in Disk Cleanup tool in Windows 10. To use Disk Cleanup, follow these steps:
- Firstly, search for Disk Cleanup in the Start menu and open it.
- Then select the drive where you want to clean up files and click the ‘OK’ button.
- Now select the files that you want to delete, such as Temporary files, Recycle Bin, Thumbnails, and more by clicking the checkbox next to them.
- Also, to delete more files, such as files for Previous Windows installations, Windows Update cleanup, and more, you can click on the ‘Clean up system files’ button.
- Finally, click the ‘Delete Files’ button on the prompt to confirm the action.
2. Install the driver in Clean Boot State
Another possible cause of the driver installation error is a conflict with third-party applications that are running in the background. To prevent this, you can perform a clean boot of your device, and you can do this by following these steps.
- Firstly, press the ‘Windows’ + ‘R’ keys on your keyboard to open the ‘Run’ dialog box and type ‘msconfig’ without quotes.
- Then click the ‘OK’ button to open the System Configuration window.
- Go to the ‘Services’ tab and click the ‘Hide all Microsoft services’ checkbox at the bottom left of the screen.
- Now click the ‘Disable all’ button.
- Then go to the Startup tab and click on the ‘Open Task Manager’ link.
- In the Task Manager window, go to the Startup tab and disable all startup programs by right-clicking on them and selecting the ‘Disable’ button.
- Close Task Manager and click the ‘OK’ button in the System Configuration window.
- Restart your Windows desktop and install your Intel driver to fix the issue.
3. Manually install your Intel Graphics Driver
If none of the above solutions work, you can try to manually install your Intel graphics driver using the Device Manager to remove the driver installation error. To manually install your Intel graphics driver, follow these steps:
- Download the zip file of the driver from this link according to your processor generation and operating system version.
- Extract the zip file to a folder on your device.
- Press the ‘Windows’ + ‘X’ keys on your keyboard and click the ‘Device Manager’ option from the menu.
- Expand Display adapters from the list and right-click on your Intel graphics device.
- Select the ‘Update driver’ option from the context menu.
- Now click the ‘Browse my computer for drivers’ option on the prompt window.
- Then click on Browse and navigate to the folder where you extracted the zip file and select it
- Make sure that ‘Include subfolders’ is checked and click the ‘Next’ button.
- Wait for Windows to install the driver and restart your computer.
That’s everything covered on how to fix “The installer failed to properly install this driver” error. Also, check out our other guides, such as How to fix the “this installation package is not supported by this processor type” error or How to fix the driver power state failure error.
