Your Computer uses the TCP/IP protocols to connect your device to the Internet. But there are times when your computer will have trouble connecting to the Internet. In times like these, resetting the TCP/IP Stack usually solves the problem. In this guide, I will show you how to Reset the TCP/IP Stack on your Windows 11 Computer.
How to Reset the TCP/IP Stack on your Windows 11 Computer?
The TCP/IP Stack is a set of protocols that defines how the Internet & other networks will function. The TCP/IP Stack processes data through its multiple layers. This leads to smooth communication through Networks that follow the TCP/IP Stack. At times, you will face Internet Connection issues. As such resetting your TCP/IP Stack will put the network configuration of your Windows 11 Computer into an acceptable state. Here are the steps of how you can do it.
Through Windows PowerShell

- Press the Windows Key + X to open up a menu that will display certain System Options.
- One of them will be Windows PowerShell (Admin).
- Click on it & it will open up the Windows PowerShell.
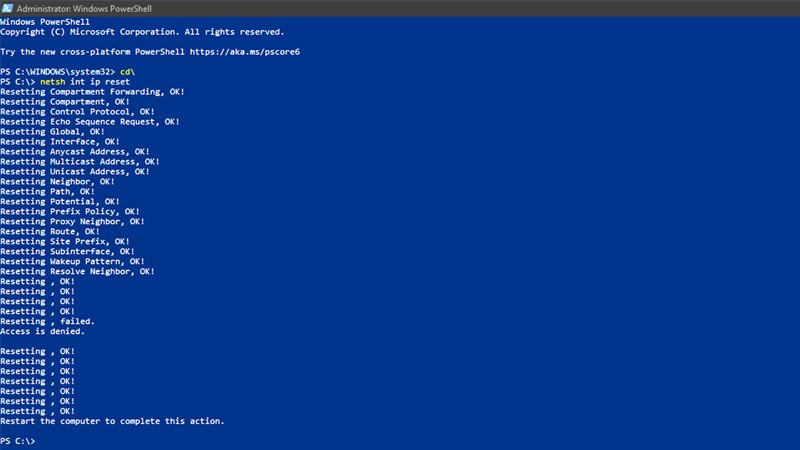
- Now in it, type the following commands:
- cd\
- netsh int IP reset
- After that hit, Enter & the TCP/IP stack will get reset.
Through Command Prompt

- Open the Start Menu & search CMD.
- Right-Click on the Command Prompt & select Run as administrator.
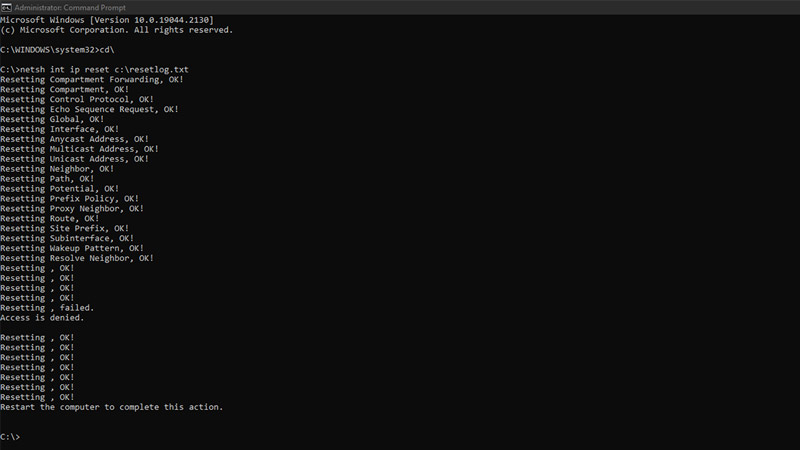
- Now in it, type the following commands:
- cd\
- netsh int ip reset c:\resetlog.txt
- After that hit, Enter & the TCP/IP stack will get reset.
Perform any one of the steps & your Windows 11 Computer’s TCP/IP Stack will get reset. After that, close all programs & restart the Computer. Now you should not face any Network related issues from your Computer.
This was all about how to Reset the TCP/IP Stack on your Windows 11 Computer. Hopefully, this guide has helped you. You can check out our other guides like How to Block Adult Websites on Windows 11.
